Winter hiking basics
Winter hiking covers a lot of ground. In this post, we go through the basics: how winter trips differ from hiking in the warmer months, and which gear and clothing are useful in winter.
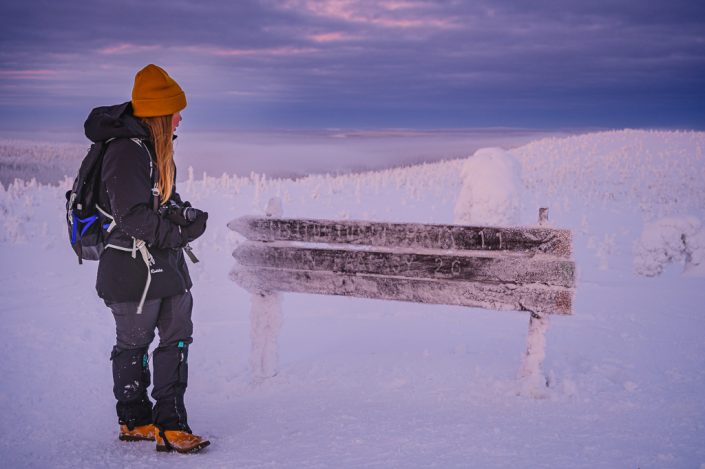
Winter is naturally the most demanding season for hiking, so we recommend getting to know the basics in the warmer months first. That keeps the learning curve from getting too steep. Still, winter hiking isn't rocket science. Learn the theory first, then put it into practice. Start with short day trips and gradually build up to winter treks lasting several days.
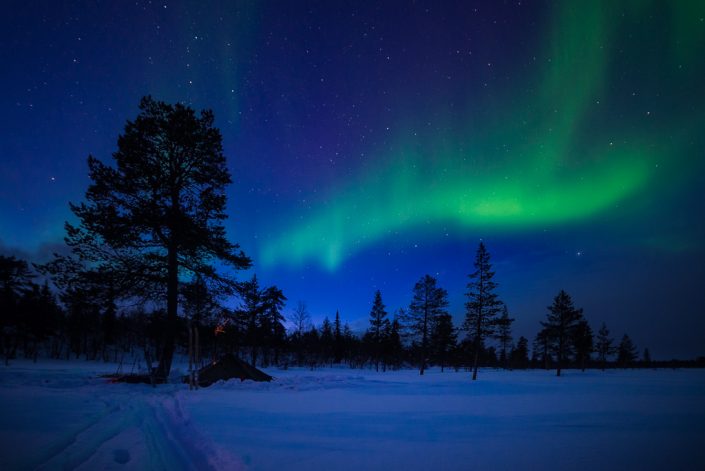
The skills you need for an overnight winter trip:
- Dressing for a winter trip
- Getting around in the outdoors in winter
- Cooking in sub-zero temperatures + water supply
- Choosing and pitching a shelter in winter conditions
- Sleeping in the cold
Dressing for a winter trip
Many people put hiking on hold for the winter because of the cold. But you won't necessarily get cold in winter if you know how to dress for the weather and the activity. We're all different, and the right way to dress is often something you only really learn through experience.
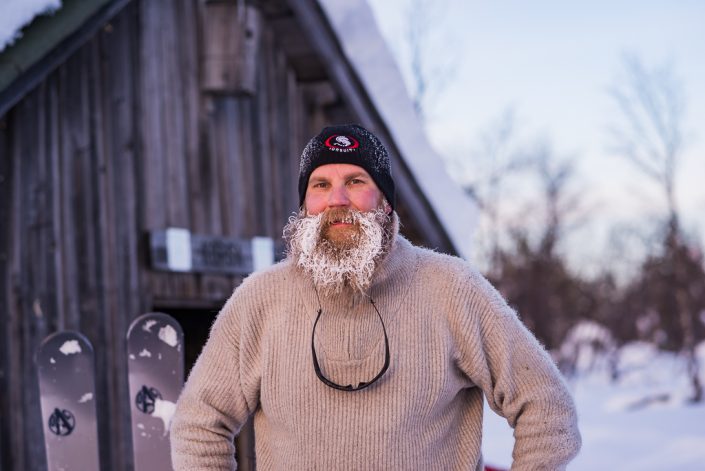
On longer winter treks you will feel cold at times. That's part of it, and you learn to live with it. The key is learning to adjust your clothing to your activity level. Your body produces heat when you move, and many people are surprised by how little they need to wear once they pick up the pace.
A proven way to dress, especially in winter, is the three-layer system. In short, the outer layer protects you from wind and rain, the mid layer provides airy insulation, and the base layer should move moisture efficiently to the outer layers.
Read more about layering here:
A guide to the secrets of layering
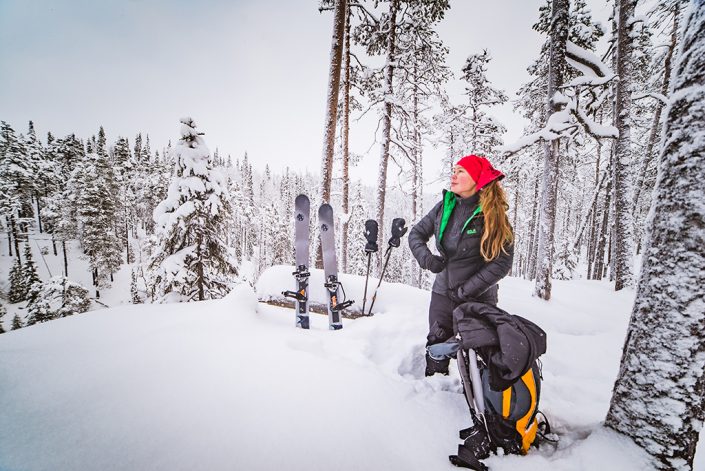
In freezing temperatures, avoid sweating too much. If your base layer gets soaked with sweat while you're on the move, you'll get cold fast when you stop and your clothes start to freeze. A good approach is to dress slightly lighter while moving and add layers when you stop for a break.
Keep your break layers somewhere you can reach them quickly, such as in an outer pocket of your backpack or on top of your pulk. The handiest break layer, and one you can use all year round, is a packable lightweight insulated jacket or lightweight down jacket.
A down jacket packs down smaller, while a jacket with synthetic insulation is a little less fussy in damp conditions.
Read more about lightweight insulated jackets here:
The versatile lightweight insulated jacket is an outdoor essential!
Read more about down here:
Down as insulation — What is Fill Power (FP)?
If you also need insulation for your legs during breaks, we stock lightweight trousers and shorts as well as insulated skirts. An insulated skirt is the easiest of these to pull on over your other clothes, and it works for men too.
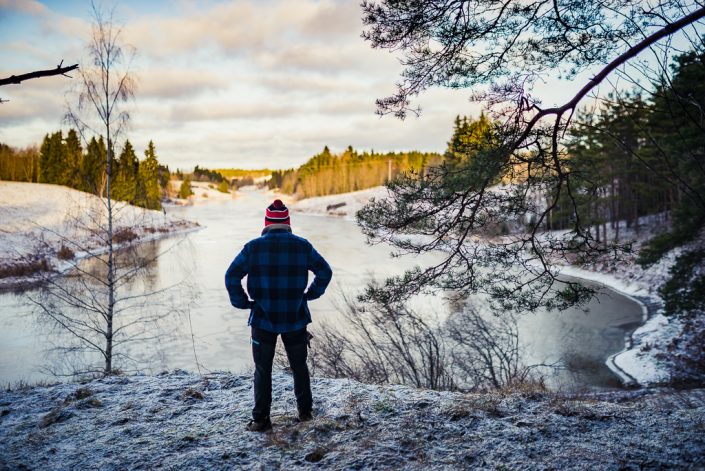
It can rain in winter, too. In milder, southern regions winters can be very wet, so you should also dress to stay waterproof. That brings its own challenges: in sub-zero temperatures moisture mainly comes from sweat, but once the thermometer climbs above zero, moisture comes from the outside as well.
In freezing conditions, shell clothing is rarely worn on the move, as there are more breathable options. In the rain, though, a breathable waterproof shell jacket is essential, and it's a piece you'll use for hiking all year round anyway.
Read more about shell jackets here:
Why is a good shell jacket one of the most versatile pieces of clothing?
In really heavy rain, you may also need waterproof shell trousers.
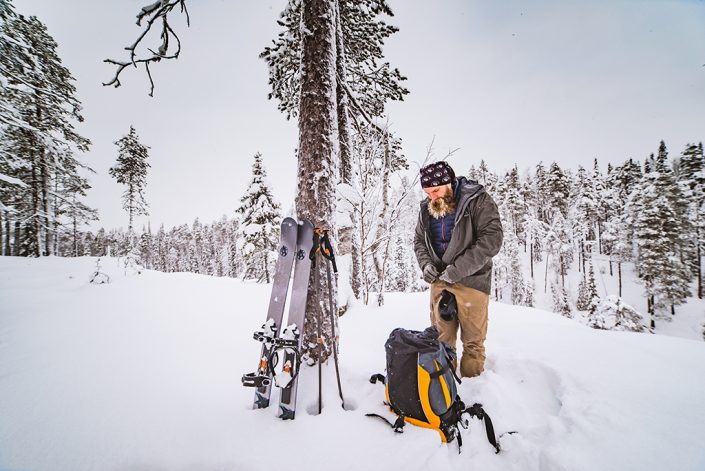
A shell jacket over a lightweight down jacket is a very warm combination that works well during breaks and in camp. When choosing a shell jacket, make sure there's enough room underneath for insulation. With a lightweight down jacket, think about whether you want a hood, since shell jackets usually have their own. The shell also protects the down jacket's thin outer fabric from branches and sparks.
What else should you consider when dressing?
The importance of your base layer can't be overstated. A damp cotton base layer feels cold against your skin, even if the rest of your clothing is warm. Merino wool is a good base layer material. Merino wool base layers move moisture efficiently and still feel warm when damp.
Read more about merino wool here:
Merino wool is naturally technical
Your fingers are usually the first to feel the cold. In really hard frost, try the two-glove method: wear a liner glove underneath and pull a properly warm winter glove over it. When you need to do something fiddly, you can usually just take off the outer glove. That way you never touch cold objects with bare hands, which would quickly draw the heat out of your fingers.
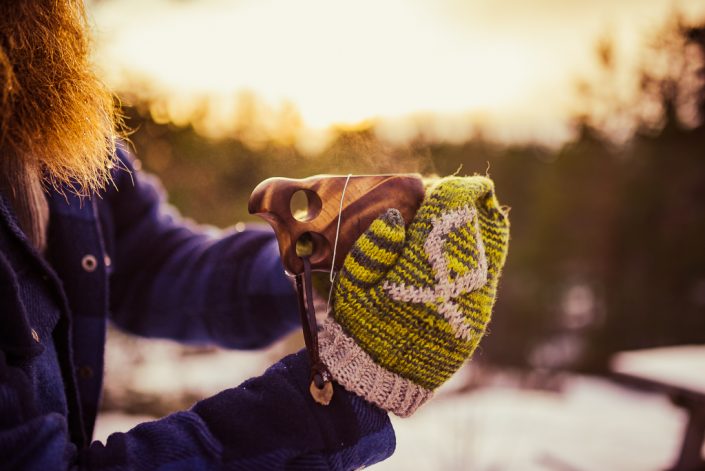
Mittens are warmer than gloves, but gloves are better for tasks that need dexterity. On a long ski trek, you can bring both and choose whichever suits the situation.
Toes also get cold easily. Warm merino wool socks help, and you can even wear two pairs. Your boots should be roomy enough not to compress the insulation. A boot that's too tight is a cold boot.
If insulation alone isn't enough to keep your fingers or toes warm, we also stock electric and chemical heated insoles and warmers.
A lot of body heat can escape through your head, so give your headwear some thought. On a longer trek it's worth bringing several hats so you can choose one to suit the weather and activity. A fur hat is very warm and works well in camp, but it often gets too hot when you're on the move.
Getting around in the outdoors in winter
Winter opens up plenty of new ways to get around outdoors. You can ski, skate, snowshoe or even use a kicksled. In milder southern regions there's often so little snow that ordinary footwear will do in the forest. In snowier areas, there's often so much snow that it's practically impossible to move through deep drifts without some kind of aid.
In milder regions, footwear with good grip is often a must. In really icy conditions, shoes with grip soles or studs are the safe choice. Read more in our guide:
A standard stiff hiking boot is often a poor choice for winter. The stiff sole doesn't give the best grip and your foot can't work properly, so it gets cold more easily. The sensible choice is a winter boot designed for the job. Waterproof boots are very handy in wet southern winters.
Skiing
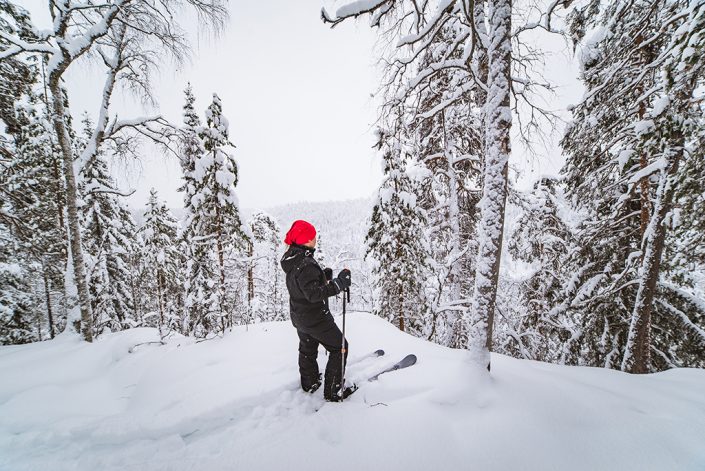
Once there's more snow, skiing gets you there faster and with less effort than walking. Choosing touring skis is never easy, but as a rule of thumb, mountain touring skis work best on the fells and forest skis work best in the woods.
On hard snow in the mountains you need skis with steel edges that hold, and a narrower ski cuts better. You can fit climbing skins to mountain touring skis for uphill sections or for hauling a pulk over tough terrain. Mountain touring skis are one of the safest choices for winter treks.
In the forest, a long, wide ski gives you maximum surface area and flotation in soft snow. If your ski trips are mostly through deep, untracked snow in the forest, forest skis are a good choice.
Read more:
A GUIDE TO OFF-TRACK AND BACKCOUNTRY SKIING
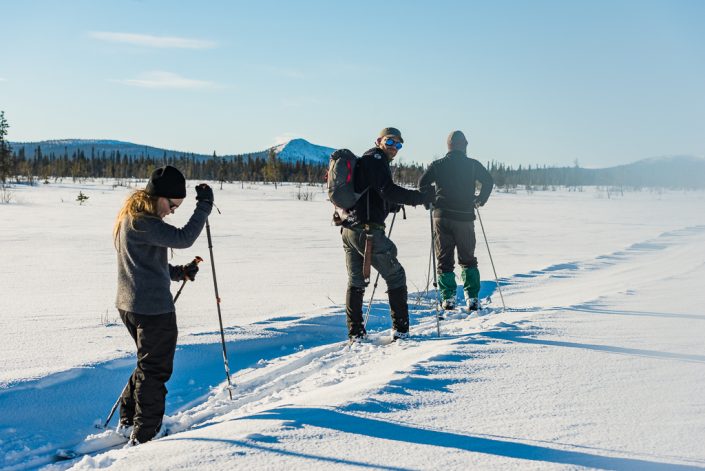
Short forest skis with built-in skins, also known as ski shoes, are versatile across many types of terrain. Their short length makes them nimble. They also work around camp, so you don't need to bring separate snowshoes when travelling in soft snow. With the EA binding you can use an ordinary winter boot, which keeps your feet warm and may mean you don't need separate camp shoes.
We stock OAC skis in several models for different purposes. Read more on our blog:
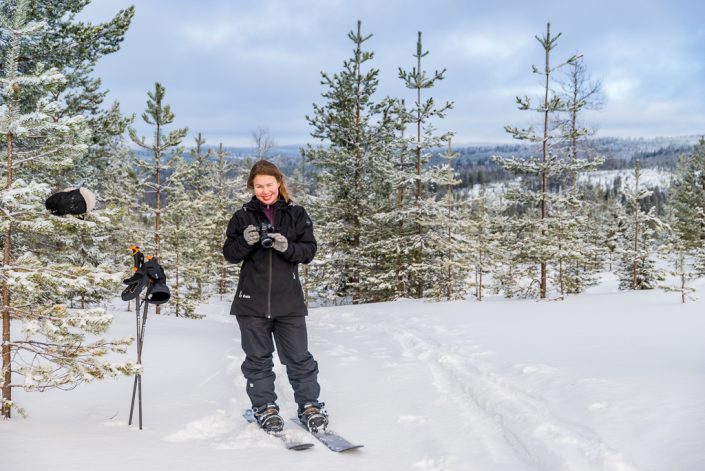
For ski touring, pole length is usually 80–85% of the skier's height. Shorter poles work better on hard snow. In soft snow the pole sinks deeper, so you need more length. A telescopic pole lets you adjust the length to the conditions, though it's also one more part that can break.
Choose the basket size according to the snow type, too. In soft, deep snow a larger basket works better, as it doesn't sink as far.
We also stock cross-country skiing and downhill skiing gear.
Nordic skating
Being able to use an ordinary winter boot with OAC skis is an advantage, but it has a downside too. The binding isn't as supportive as mountain touring or freeride ski bindings.
If you want a more supportive binding, a good choice is the NNN BC binding, which you can pair with warm boots. You can use the same binding and boot with Nordic skates, which saves you money. Nordic skating is a fantastic way to get out into nature, but it carries real risks, so if you're just starting out we recommend taking a course.
Snowshoeing
Snowshoeing is a convenient way to get around, especially when the terrain is too awkward for skis. That said, it uses more energy than skiing, so it's not ideal for longer treks.
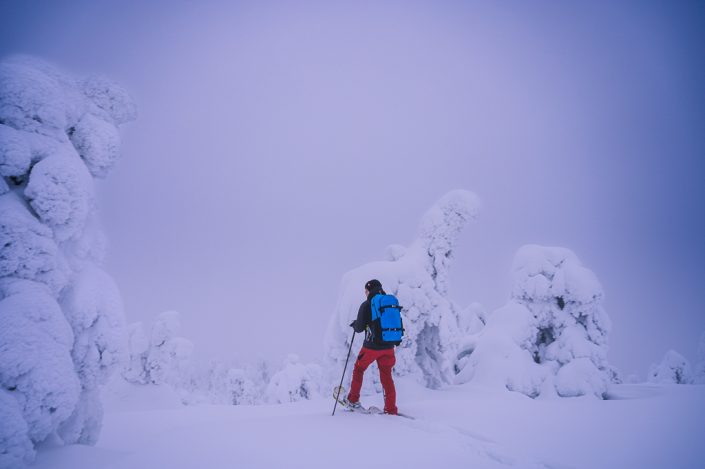
We stock a wide range of snowshoes. When choosing, take into account your own weight plus the weight of any daypack or backpack. As a rule, a larger snowshoe gives better flotation in soft snow, while a smaller one works better on packed snowshoe trails.
Do I need a pulk?
In winter you can use a daypack or backpack just as you would in summer. For a long ski trek, though, consider a pulk. A heavy backpack pushes you deeper into the snow and makes it harder to keep your balance. It's not particularly comfortable and your back quickly gets sweaty. And if you fall into deep snow, getting back up with a loaded pack on your back drains your energy fast.
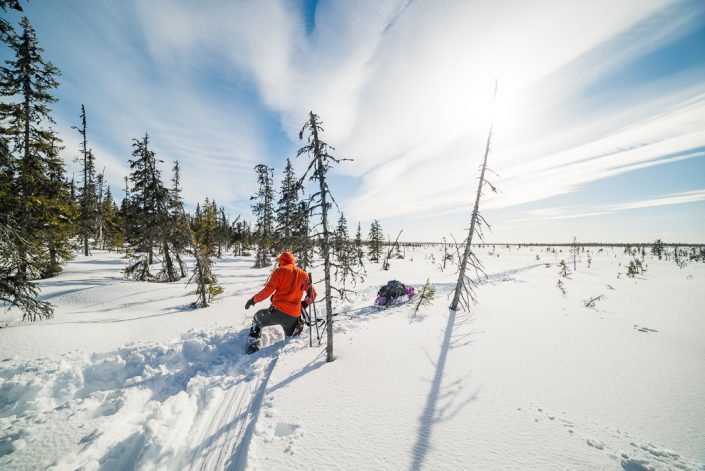
With a pulk you can carry more weight. Don't get carried away, though. An overloaded pulk is very hard work to pull, and it also sinks deeper into soft snow.
Along with the pulk, you'll need a harness and traces. These are sometimes sold separately. In open terrain you can tow a pulk with a rope, but rigid traces keep it on course and stop it sliding into your ankles. Traces can be crossed or straight: straight traces work better in open terrain, while crossed traces make it easier to turn in the forest.
Things to remember on the move
Daylight hours are very short in winter. Check the sunset time in advance. Even if you plan to be out of the woods before dark, bring a torch just in case. Things don't always go to plan.
Read more about head torches here:
A guide to choosing the right head torch!
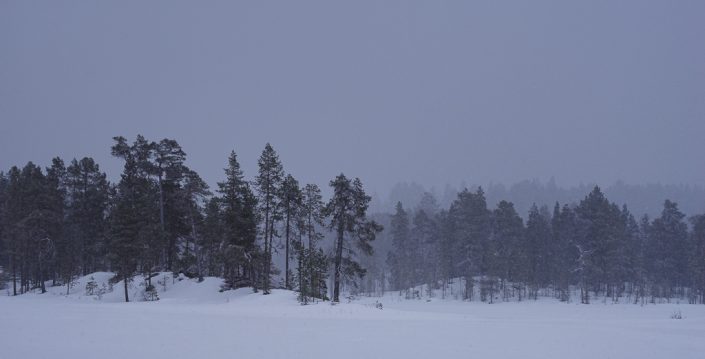
Navigation is also harder in snowy terrain than when the ground is clear. Sometimes you can follow your own tracks back, but drifting snow can cover them in no time. In busier hiking areas, your tracks get mixed up with everyone else's.
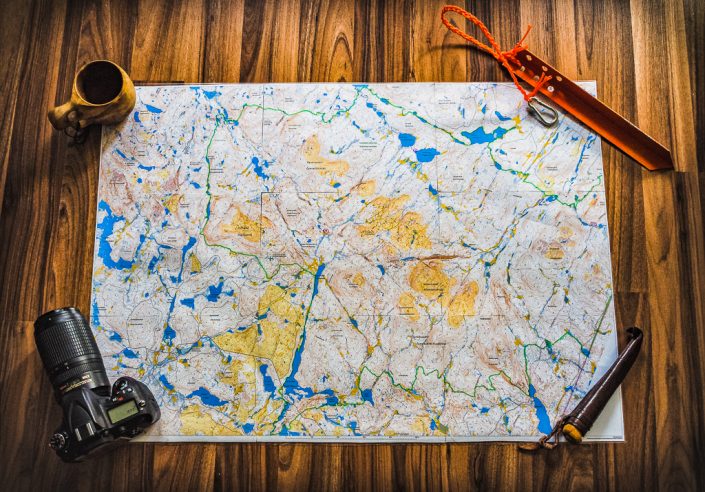
In the cold, batteries can die and touchscreens don't always respond. The most reliable option is to learn to navigate with a map and compass.
When moving in cold weather, sweating is often a bigger problem than getting cold. Avoid overheating, and remember to drink enough. Drinks can freeze in hard frost. Keep your water in a vacuum flask, or sometimes simply insulating your bottle with a wool sock will do.
Strong wind and blizzards can cut visibility and chill you quickly. Especially on open ground, bring ski goggles or similar to protect your eyes from blowing snow. A balaclava helps protect your neck, throat and face from strong wind. Sunglasses are often needed too, as sunlight reflects strongly off white snow.
Cooking and water supply in winter
Cooking
The main challenge for cooking in winter is extreme cold, which mostly limits your choice of stove and makes it harder to keep food warm. Getting water, on the other hand, is often easier in a snowy winter than during a summer heatwave.
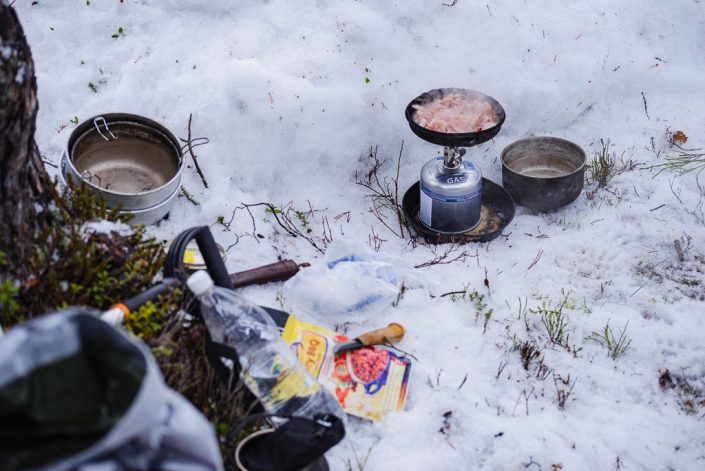
In really hard frost, a traditional spirit stove may not have enough power, and just melting snow for water can take forever. A gas stove gives you more output. Standard camping gas copes with some frost, but in winter we recommend winter gas. Primus Winter Gas, for example, claims to work down to -22 ºC. Take that with a pinch of salt: besides temperature, air pressure, wind and the stove itself all play a part.
Once it drops to around -20 degrees, gas stoves become temperamental and their output falls sharply. At that point, a petrol stove or multi-fuel stove is the way to go. A stove box that holds both the stove and the fuel bottle is a useful addition.
Read more about stoves here:
Choosing a camping stove — An introduction to different stoves
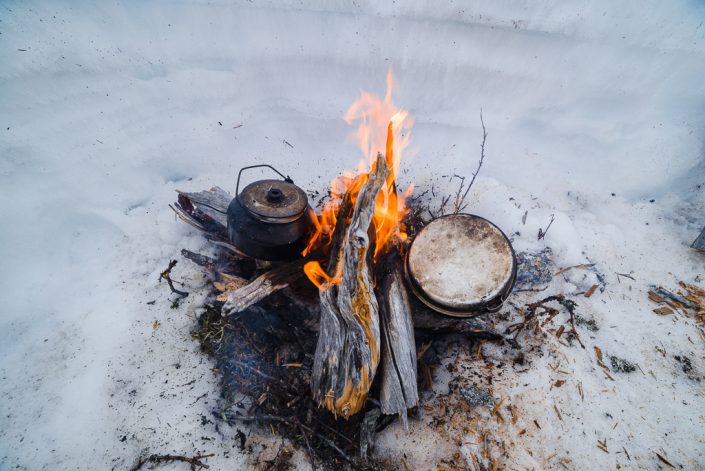
Other options for cooking and boiling water are an open fire or a wood-burning stove. When lighting a fire, bear in mind that gas lighters can also fail in hard frost. Matches, a petrol lighter or a plasma lighter are good alternatives. Fire starters make lighting easier.
You always need the landowner's permission to light a fire. In national parks, for example, fires are usually only allowed at designated fire sites.
You'll find lighters, fire starters and matches here.
Vacuum flasks are very handy in winter. There are flasks for drinks and for food. On a day trip, you can make coffee or soup at home and enjoy it outdoors. On a ski trek, you can boil water for the day and/or make lunch soup in the morning and take it with you. If you use ready-made freeze-dried meals, you can bring pre-boiled water, or put the meal straight into a food flask to “rehydrate”.
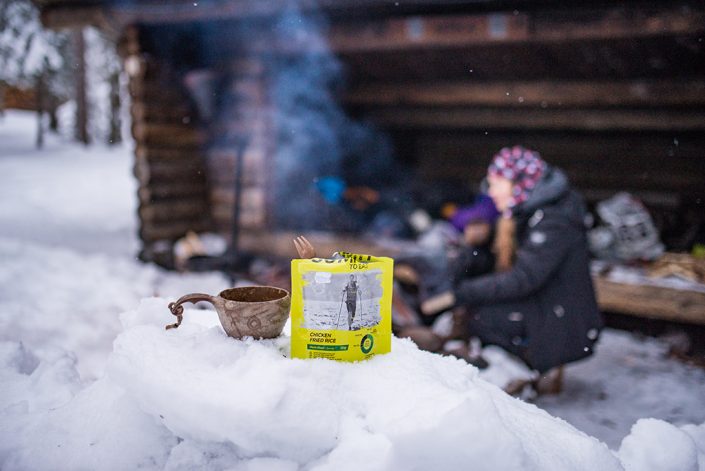
Before setting off on a winter trek, work out in advance that you're bringing enough calories. Someone who burns 2,000 kcal a day in summer might burn as much as 5,000 kcal on a ski trek. Running on an energy deficit makes you feel the cold more, and it doesn't do much for your motivation either.
Water supply
As mentioned earlier, in a snowy winter it's easy to get water from, well, snow. Snow collects pollutants from the air, so don't gather drinking snow near major roads. Check the snow with your eyes and nose before using it. You don't want to drink yellow snow.
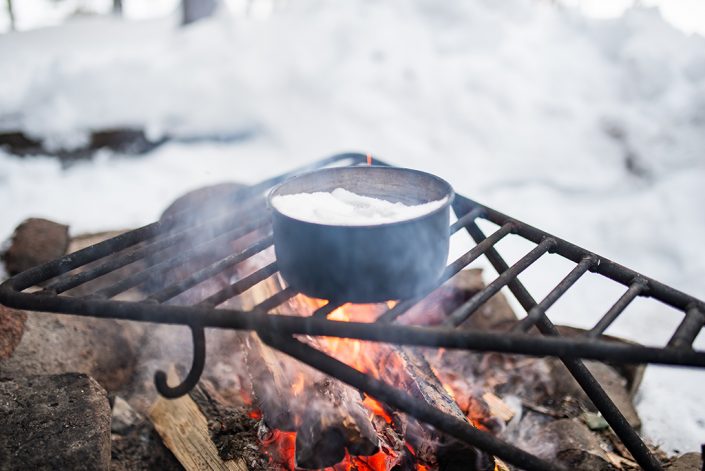
Melt the snow in a pot, then bring it to a proper boil to kill any bacteria. Meltwater is similar to distilled water, though, and lacks salts and minerals. That means it doesn't hydrate you as well as water taken straight from a lake or stream. You can add salt, sugar or various drink powders to it.
Melting snow is laborious, so set aside enough time to make sure you have enough water for the day's stretch. Drink your water warm: cold water cools your body and costs energy, as your body has to work harder to warm itself. How much you need to drink depends largely on how much fluid you've lost. On a ski trek, you'll get through several litres a day.
Melting snow over a campfire is quick, but the water soon starts to taste of smoke and becomes unappealing. Squash concentrate or Hart Sport powder helps. Another good trick is fresh ginger and lemon added to boiling water in your flask for flavour.
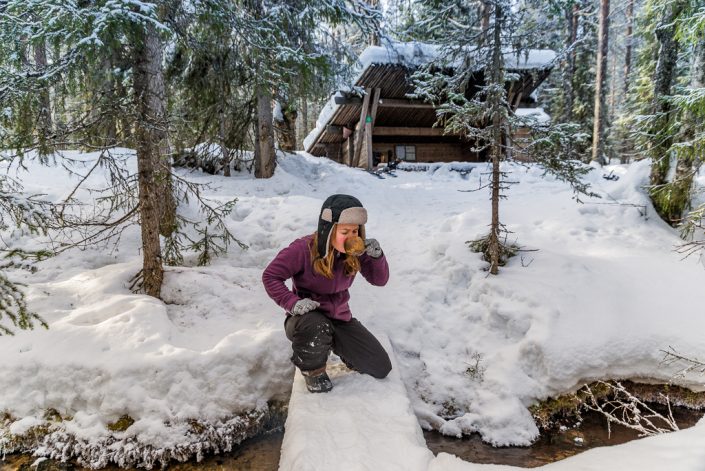
Even in hard frost, not all natural water sources freeze. Springs and fast-flowing water sometimes stay open all year round. If you enjoy ice fishing, you can easily get drinking water from your fishing hole. If the ice isn't very thick, you can break it with an axe to reach the water. On slightly thicker ice, chop a basin with an axe, then make a hole in the bottom with something like a rebar spike. It will fill with water that's easy to scoop into your bottle.
Water is generally cleaner in cold weather, but check your map to see where it comes from. Are there houses, fields or anything else upstream that could contaminate it? A quick look and sniff will tell you if the water smells or looks off.
You can also filter your water if you like. Filtering, like boiling, kills practically all bacteria and protozoa. Note that many filters break if water freezes inside them.
Choosing and pitching a shelter in winter
Choosing a shelter is a broader topic, and keen hikers soon find themselves owning several. Different shelters suit different purposes.
The most common shelter, especially in winter, is a tent. Read more about tents here:
Choosing a tent — tunnel, dome or something else?
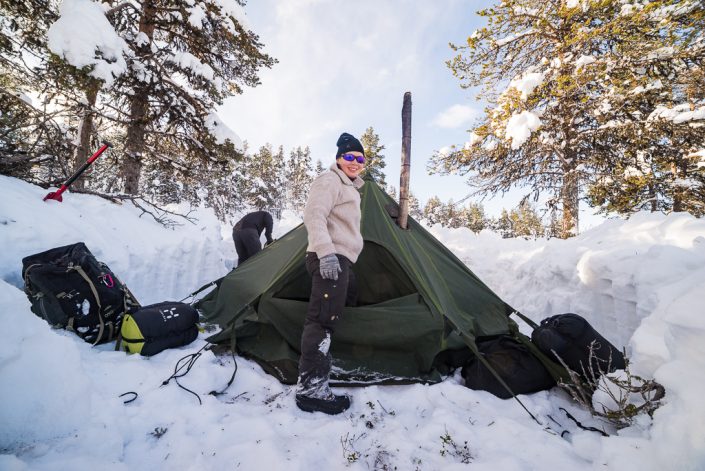
In our range of hiking tents, we note whether a tent is suitable for four-season use. If you already own a tent that isn't a four-season tent, that doesn't mean you can't use it in winter. Tents designed for year-round use are simply more capable and reliable: they withstand strong winds and heavy snowfall, their ventilation works, and they have useful winter details such as snow skirts.
How you pitch your tent in winter depends on the tent design, the snow conditions and your own preferences. Sometimes it's worth digging a large pit in the snow for the tent (group tents). Sometimes it's better to pitch on top of the snow and dig a separate kitchen, for example in the vestibule of a tunnel tent. And sometimes simply stamping down the snow under the tent is enough. When there's no snow, the ground may be frozen, so you'll need sturdy tent pegs that you can hammer hard through the ice.
There are many ways to anchor guylines in snow. You can use a ski or pole instead of a peg, tie the line to a branch and bury it in the snow, or use proper snow pegs designed for snow and sand.
Good ventilation is a welcome feature in a winter tent. Your body and breath release a lot of warm moisture, which stays inside the tent if the ventilation isn't working.
We also stock tents that take a wood stove, such as Savotta group tents.
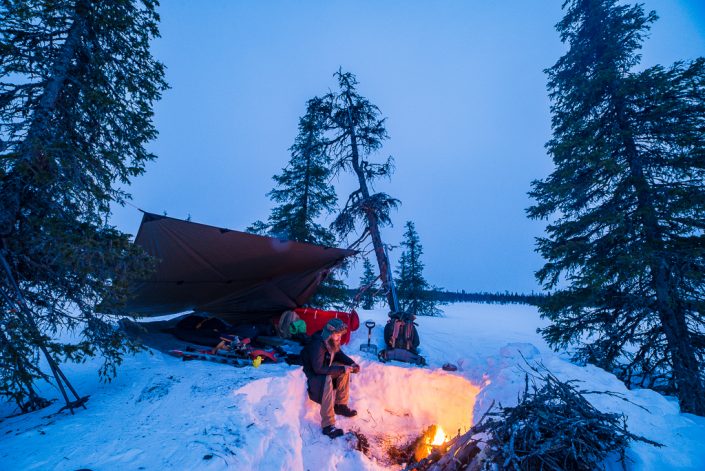
Other shelter options include a hammock and a tarp. You can also sleep in a wilderness hut, a lean-to shelter, a snow cave, under the open sky or beneath the low branches of a spruce.
Sleeping in sub-zero temperatures
In winter, it's important to bring sleeping gear that's warm enough. It makes sense to go a little over the top with your sleeping mat and sleeping bag so you don't spend the night shivering. Warm gear also gives you confidence, because you don't have to worry about getting cold. If the cold catches you out, you can always set up camp and spend the evening in the warmth of your sleeping bag.
Read more about choosing a sleeping bag and mat here:
Choosing a sleeping bag and mat — How to build a system that works
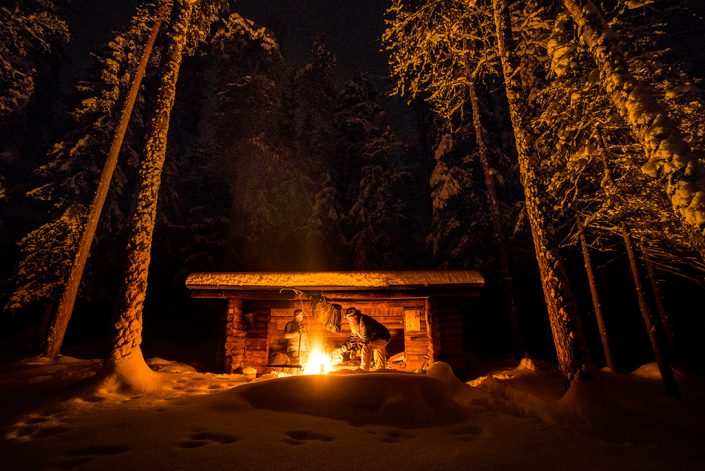
If the evening turns out colder than forecast and you feel your mat and/or sleeping bag won't be enough for a warm night, the game isn't necessarily over. What you wear inside your sleeping bag matters a lot. Often a dry merino wool base layer set is all you need. When it's really cold, you can add mid-layer clothing (fleece, wool and down). Eat and drink well before going to bed. If you're already cold when you turn in, your body won't warm up quickly, so do a few exercises or warm up by the fire just before slipping into your sleeping bag.
If none of these tricks work, take a bottle of boiling water into your sleeping bag as a heater. Insulate it with something like a wool sock, and make sure the bottle can handle boiling water. Nalgene Tritan bottles, for example, work well for this.
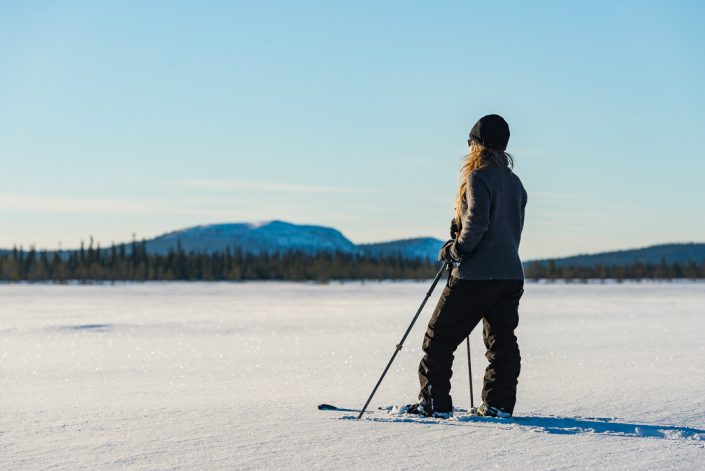
That's a summary of the winter hiking basics. The post ended up being a long one, but we hope it helps you and gives you the confidence to head out and see how winter hiking suits you.
Happy winter adventures from Scandinavian Outdoor [U+1F642]