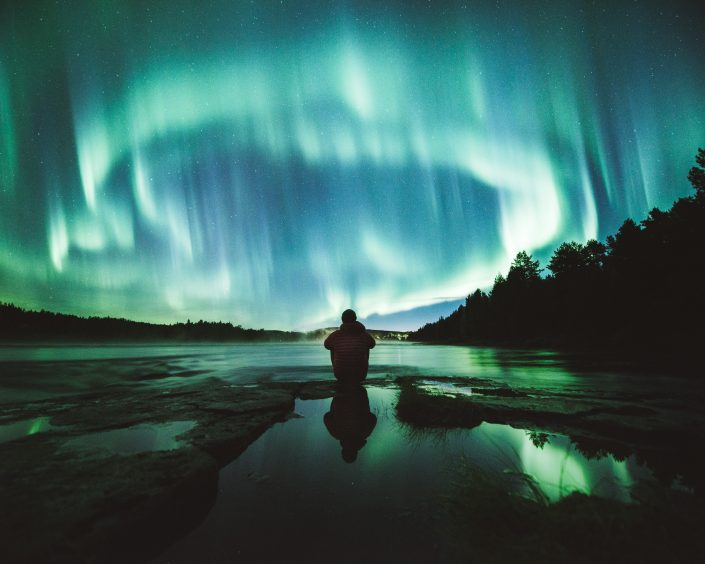
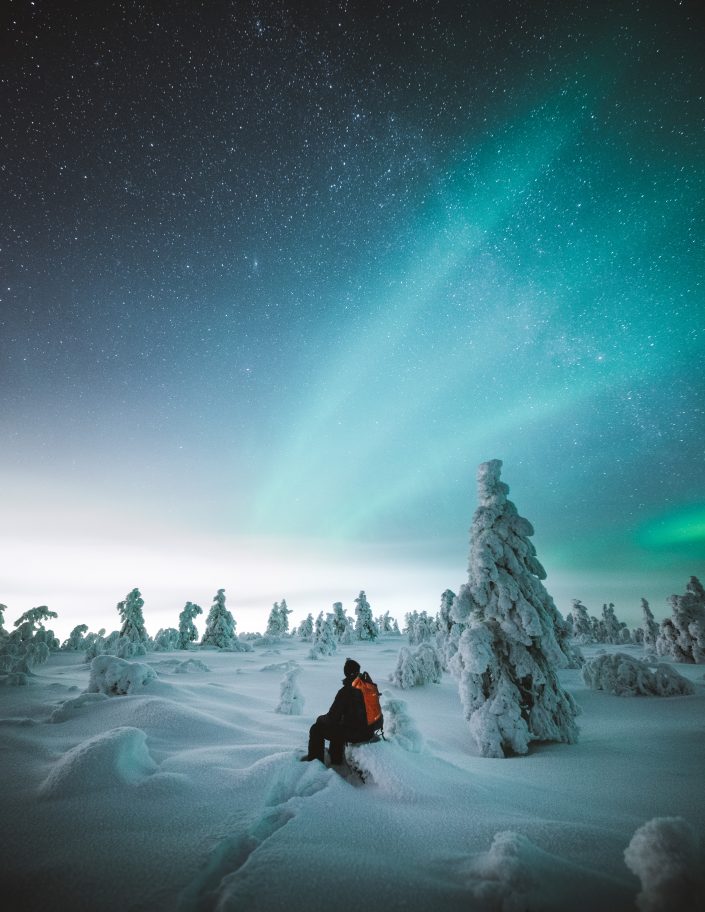
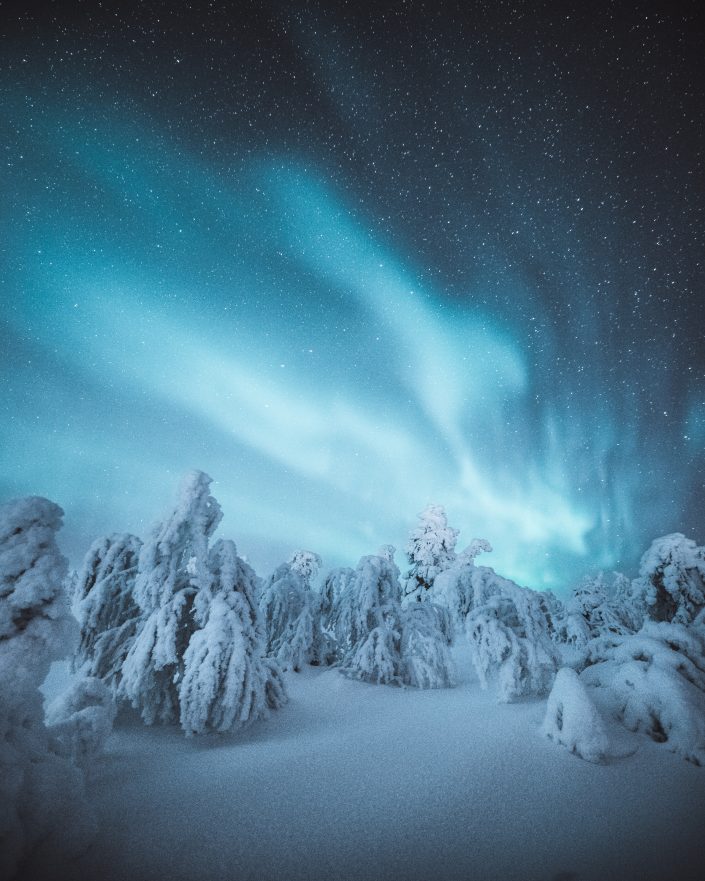
Aurora Borealis, more commonly the Northern Lights are the best reason to go outdoors in the dark season! Chasing them can not be relied on merely good luck or skills, but both are needed. Most people have not seen the heavenly flames, because they are enjoying the night at a local pub or sleeping. Let us therefore take the challenge and go through what we should consider in witnessing and photographing the mighty lights!
Northern Lights are born when the charged particles of the solar wind reach Earth’s atmosphere. The active season lasts from Autumn all the way to Spring. Observation is most likely in the middle of a dark night in the Northern part of the sky. Northern Lights are located on the polar regions, so the more North you are, the better your chances are. Cities such as Rovaniemi (Finland), Kiruna (Sweden) and Tromso (Norway) are North enough!
Tips for seeing the Northern lights:
1. Go North between September and March!
2. Follow the space weather forecast. For example, the probability of Northern Lights is predicted by the Aurora Service.
3. Track the amount of cloudiness: Even a small cloud may dim the flames, though it may look fine with the camera!
4. Follow the moon phase: It may be more difficult to spot the Northern Lights during full moon.
5. Get away from light pollution, which is caused by inhabited areas or industrial sites.
6. Wait, wait and wait. Some snacks, warm drinks and good company help here!
Tips for photographing the Northern Lights:
1. In the dark conditions, a good DSLR helps you a lot! See my camera, lens & settings below!
2. Tripod keeps the camera steady during exposure.
3. Wide angle lens helps to capture the largest angle of view.
4. Try different exposures: The longer you expose, the smoother the lights will be composed in the photograph. For my camera and lens, I use exposures between 2 and 20 seconds, depending how fast the Northern lights are moving.
5. Pro-tip: Many headlamps have a so-called red-light mode. Red light does not cause our pupils to shrink the way white light can, so it’s good for nighttime use. Learn how to use it, as in the dark its light power is just enough for your own bustle. Also, the images of your friends are not full of waving light beams when different cameras are exposing in different directions at different times. Even more beneficial is to maintain a good night vision yourself, in order to spot the Northern Lights.
Helpful gear & equipment for the adventure:
My camera, lens & settings:
Nikon D810 with Nikkor 14-24 2.8 lens.
Image quality: RAW.
ISO: 400-3200 (to match the exposure).
Exposures: 2-20 seconds, depending how fast the Northern lights are moving.
Aperture: 2.8 almost always.
Focus: Subject in the foreground, for example, a person.
White balance: flourescent lamp for the best in-camera preview.
Self timer: 2 seconds usually. 20 seconds if I have to be in the image.
P.S. Even though it would sometimes seem that the Northern Lights are just at your fingertips, they are still up to 100 km above ground level!
P.P.S. In the Southern Hemisphere, the Northern Lights are called the Aurora australis or the South Winds!


