Navigating on hikes and treks: map, compass and GPS devices
Navigation is one of the most important outdoor skills. Once you know the basics, you can pinpoint your position on the map, judge how fast you're covering ground and, most importantly, avoid getting lost. That makes every trip safer.
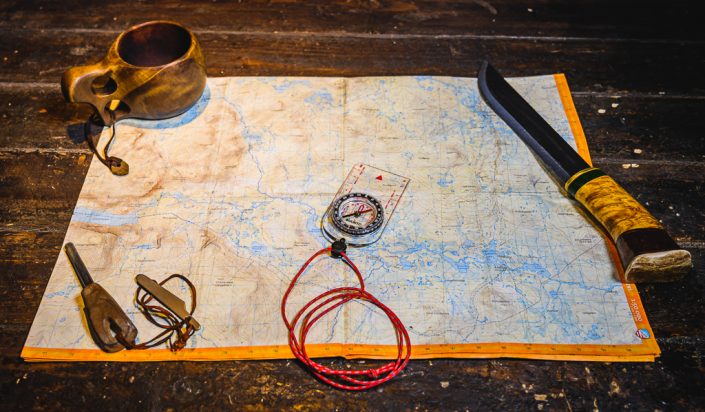
Learn the basics of navigation at home first. Then you can safely sharpen your skills in familiar terrain close by.
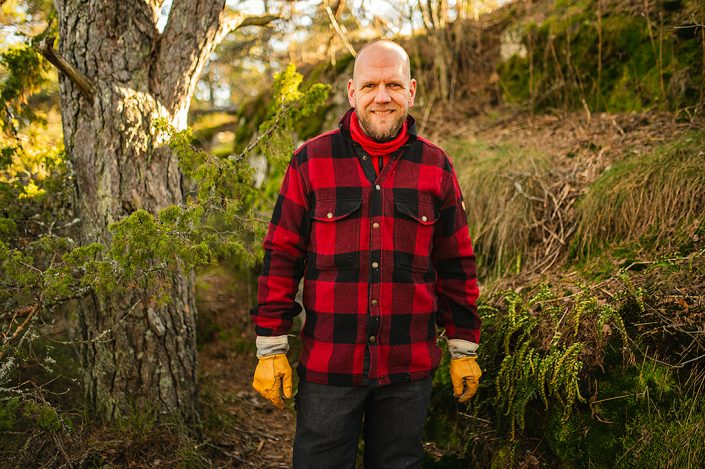
Mikko works as an outdoor specialist at our Kuninkoja store. He has nearly 20 years' experience helping hikers, so many of our customers will know his face. Mikko is the outdoor expert behind our guides.
Navigation means moving from point A to point B along a planned route. You can navigate purely by your sense of direction or with the help of a map. The map can be on paper, on your phone or on a GPS device. Most of the time you'll have a compass with you too.
You can buy paper maps or print your own. Plenty of online map services offer free access to map data from the National Land Survey of Finland. You can download maps directly from the National Land Survey or use a service such as Pikakartta.
We stock hiking maps for Finland and destinations abroad.
Using your sense of direction
You often hear people say they have a poor sense of direction. Usually, though, the problem isn't their sense of direction. Their mind is simply somewhere other than on where they're going.
It helps a lot to carry a map of the area, or to study it on a map beforehand. As you move, keep asking yourself which direction you think you've been heading. By reading the features of the terrain, you can place yourself on the map.
In dense forest, visibility is poor, and on a network of paths your sense of direction can go astray in moments. If you don't have a compass, watch the position of the sun, the shadows and so on.
Navigating with map and compass
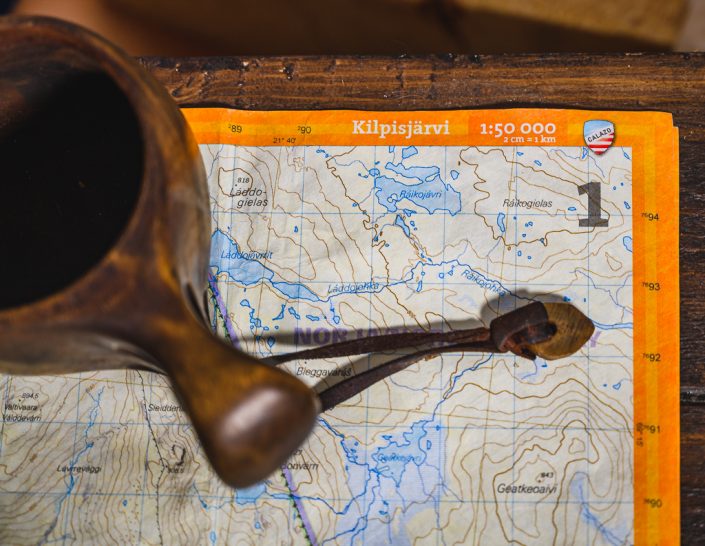
Map and compass navigation is a core skill worth learning before you set off on a trek or head somewhere demanding. The basics you need to get started are quick to pick up.
First, learn how your own compass works and get to know the map you'll be using. There are many kinds of maps, and few things beat poring over one before a trip and dreaming about the route ahead. Calazo maps are a good option: they're waterproof and built to handle heavy use and wear.
Start by checking the area the map covers. Is it enough for your trip? Check the scale, and bear in mind that a single map sheet may carry several maps, some at different scales. A scale of 1:50,000 is common for trekking and is usually perfectly adequate. Also check how many kilometres one grid square represents. The grid squares make it easy to estimate distances.
On the open fells of Sweden, 1:100,000 may be enough and gives you a better overview of the area. In particularly tricky terrain, you may need 1:25,000 or an even more detailed map. The catch is that the map gets bulky if you're covering long distances. On short trips, a more detailed map works fine.
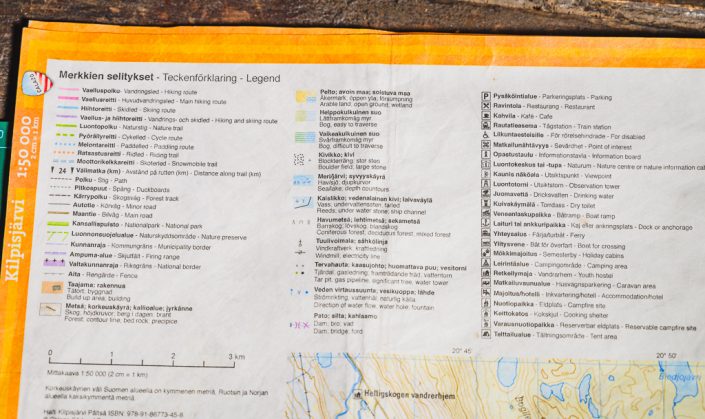
Many maps include a legend explaining the symbols, and you can also find them online. Learning the symbols at home is a good way to pass the time while you plan your next trek. You can find the National Land Survey's map legend here.
Maps hold a lot of useful information: the heights of fells and hilltops, water depths, wilderness huts, paths, snowmobile routes, points of interest, the boundaries of recreation areas and nature reserves, and more.
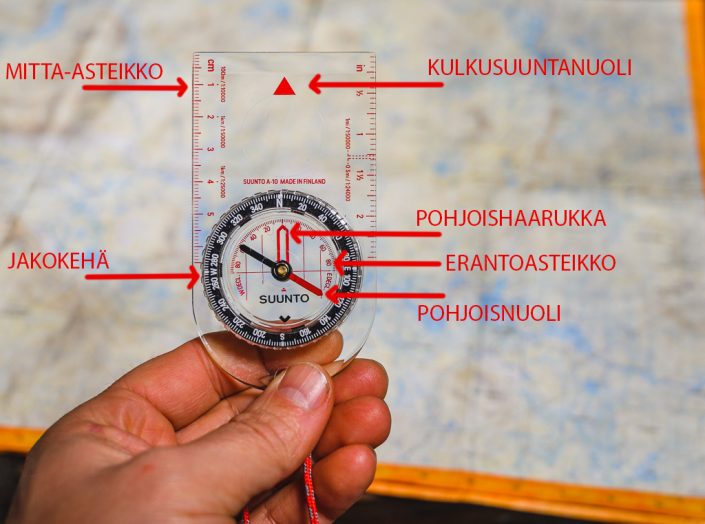
The compass in the picture is the Suunto A-10, which suits beginners and general hiking. You'll find the user guide on Suunto's website.
There are many different compasses, so read the instructions that come with yours. A compass works magnetically, so keep it away from metal objects and anything else that could throw the needle off. The red needle points north. On the bearing scale, 0 and 360 degrees are north, 90 degrees is east, 180 is south and 270 degrees is west.
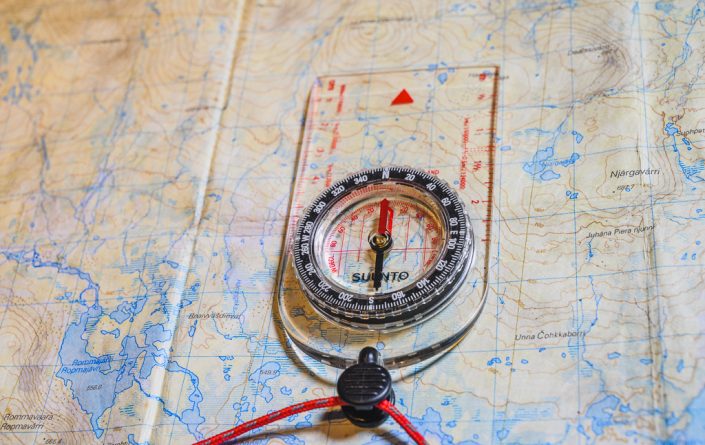
When visibility is good, as on the fells of Lapland, it's usually enough to find yourself on the map and keep track of where you are as you move. To make this easier, place the compass on the map with the direction-of-travel arrow pointing to map north. Then rotate the map until the compass's red needle points the same way. Your map is now “the right way round” in your hands.
It's easier to follow your progress if you keep the map correctly oriented to your direction of travel the whole time.
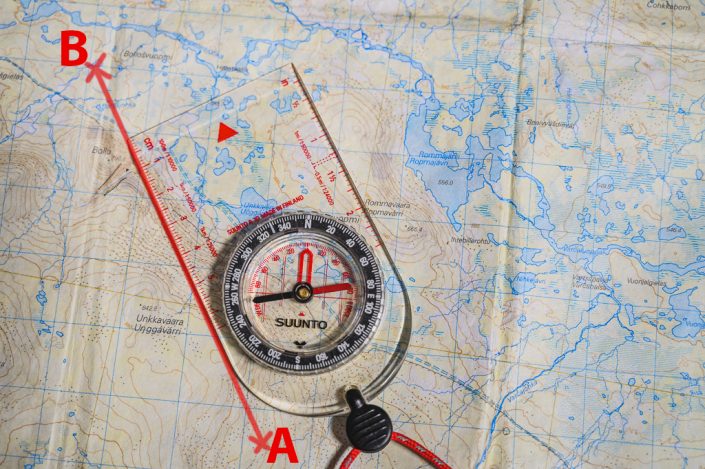
You can also use the compass to take a bearing. This is a big help when visibility is poor or when you need to hit a specific point on the map. It's very straightforward:
- Line up the edge of the compass along your route. Say you're at point A and want to get to point B. If you use the ruler along the edge of the route, you can measure its length at the same time (keep the map flat).
- Turn the rotating bezel so the orienting lines on its base point to map north. Use the map's grid lines as a guide (the blue grid on the map in the picture).
- Subtract the declination (explained below).
- Take the compass in your hand, hold it flat and turn your body until the red north needle sits inside the orienting arrow.
- Walk in the direction the direction-of-travel arrow points.
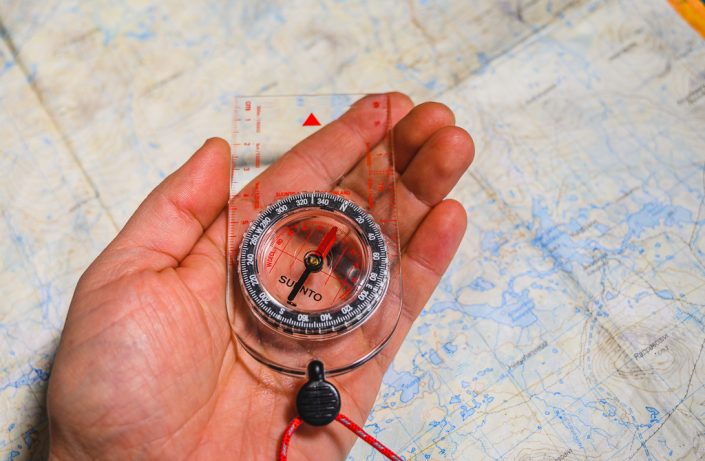
The compass now shows your direction of travel. Take your bearing to a visible landmark, walk to it, then pick out the next one. That way you know you're heading the right way.
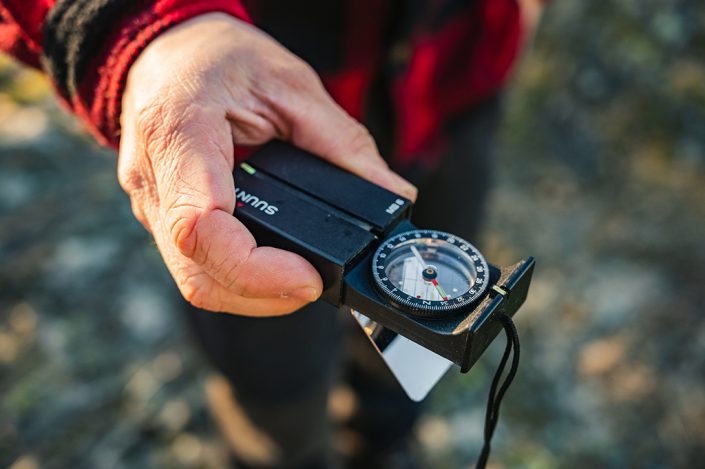
A mirror compass lets you sight on a target while keeping an eye on the needle. The sighting notch makes it easy to aim the compass at your chosen landmark, and the mirror lets you watch the compass dial from above while you hold your aim.
Correcting for magnetic declination
True (geographic) north and magnetic north lie in slightly different directions. The difference between the two is called declination. In Finland, magnetic declination varies between 6 and 14 degrees depending on where you are. You can check it on the Finnish Meteorological Institute's website, and it's usually marked on hiking maps as well.
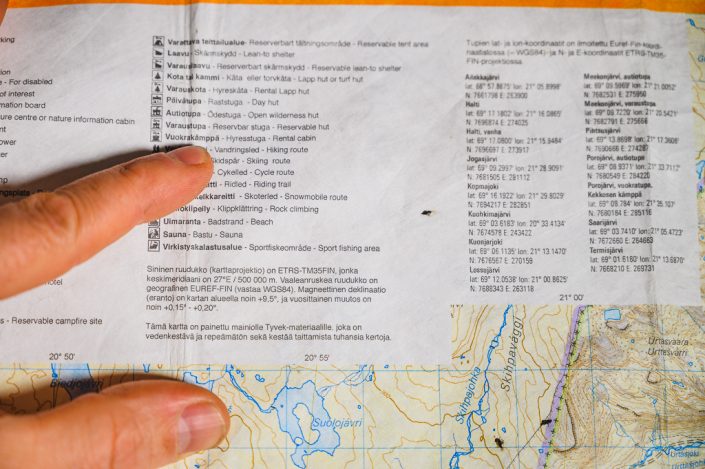
Calazo maps show the declination clearly. In Lapland it ranges from around +10 degrees in the west to +14 degrees in the east. In Finland, declination is currently increasing by about +0.2 degrees a year.
So when you take a bearing with your compass, it may need a correction of up to 14 degrees. You won't always need to correct for declination, but it's worth keeping in mind.
In other words, the bearing you set on the compass from the map is a true bearing, while the compass needle points to magnetic north. In Finland, declination is always positive. Declination is defined as positive when magnetic north lies east of true north. That means the compass points too far “right”, and the correct direction is actually further “left” by the angle of declination.
How to correct for declination
- Check your compass instructions. Some compasses have adjustable declination correction, sometimes via a small adjustment screw on the base.
- If your compass has no adjustable declination, first take your bearing from the map, then turn the bezel clockwise by the number of degrees of declination (when declination is positive). In other words, subtract the declination from your bearing.
Navigating with a phone or GPS device
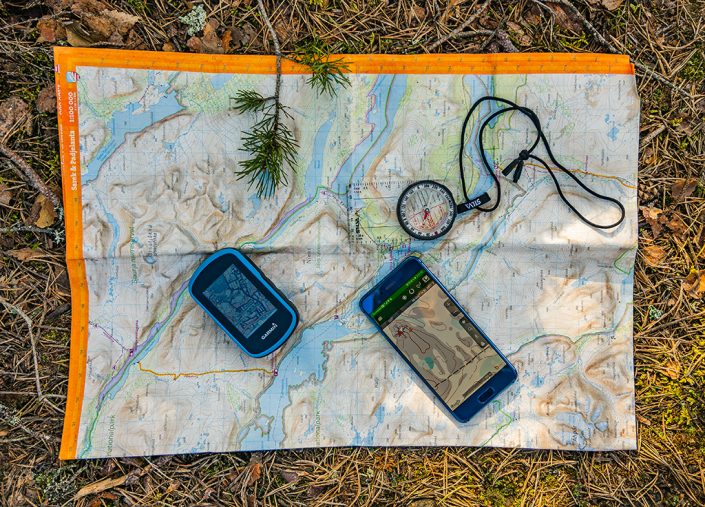
Phones and GPS devices are handy navigation aids. In very dense forest, or when visibility drops, it can be genuinely hard to find yourself on the map. That's when a GPS device or phone really earns its place.
Remember, though, that map and compass skills are the foundation, and they're worth learning. Always carry a map, even if it isn't your main way of navigating. Having a map and compass in your pack isn't enough on its own. You need to know how to use them, and when you're tired and lost, those skills are worth their weight in gold.
Navigating with a phone
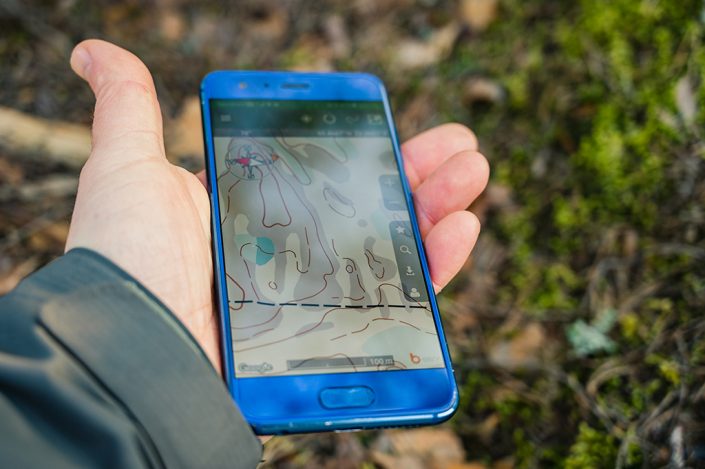
A phone is a very practical navigation tool. There are free map apps you can download, though offline maps and route planning usually sit behind a paywall. Phone map apps are easy to use, the touchscreen is usually large and sharp, and you can follow your own position on the map.
Bear in mind that unless you've saved the maps to your phone's memory, you'll need an internet connection for them to work properly.
Pros of a phone
- easy to use
- your position shows on the screen
- you almost always have it with you
- you can navigate even in difficult terrain and poor visibility
Cons of a phone
- the battery can drain fairly quickly, especially in cold weather (in hard frost it may not work at all)
- phones often have poor weather protection and shock resistance (light rain, moisture from your body or a drop onto the ground can leave it useless)
- a phone is a piece of tech with plenty that can go wrong: the software may crash, the GPS may stop working and so on
- if your phone is your main navigation tool, you won't build or maintain your navigation skills very effectively, because you can always see yourself on the map
- free apps usually need a network connection
Navigating with a GPS device
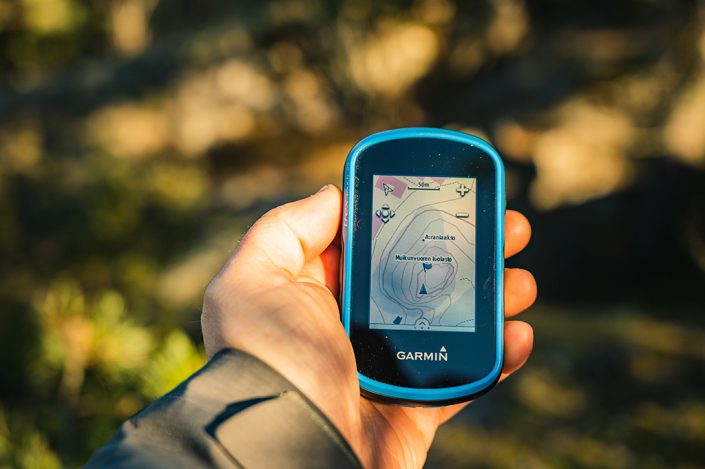
Like a phone, a GPS device is a reliable and highly recommended navigation tool. Many experienced trekkers carry one as a backup. If you get badly lost, it puts you back on the map, and you can navigate with it when visibility is very poor, such as in a snowstorm.
You can load your route, wilderness huts and points of interest onto a GPS device in advance. Features vary a lot between models, and the best way to get to grips with them is to watch tutorial videos on YouTube, for example.
The technology is also moving fast. Garmin inReach devices, for instance, include satellite messaging: you can send and receive messages over the satellite network and request weather forecasts. You can also send an SOS message even where there's no mobile coverage. These devices are becoming standard kit for trekkers and adventurers heading into wilderness areas.
Pros of a GPS device compared with a phone
- better weather protection and shock resistance
- more versatile features
- generally more reliable
Cons of a GPS device compared with a phone
- takes more time to learn
- usually a poorer screen
- a higher purchase price than a paid map app for your phone
Tips for beginners
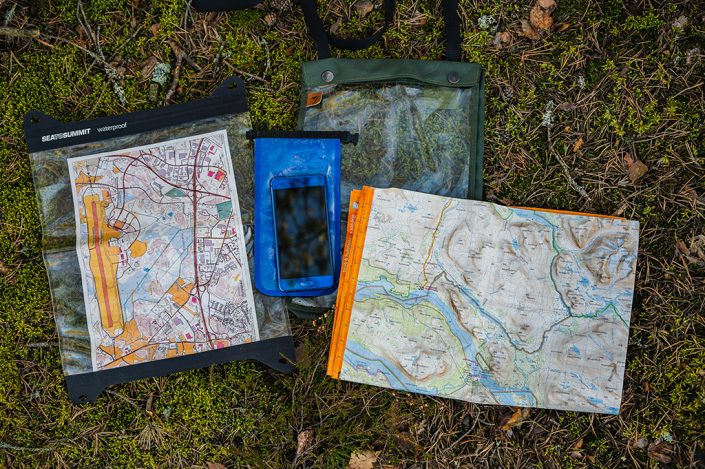
You can stuff a waterproof Calazo map into the thigh pocket of your hiking trousers. Maps that aren't waterproof should always go in a waterproof map case. You can also get waterproof dry bags and cases for your phone. Home-printed maps in particular fall apart in the damp very quickly unless you've printed them on waterproof paper.
Learn to use your own navigation gear. GPS devices especially are worth mastering properly by practising close to home first.
Practising navigation is good fun. The basics come quickly, but there's always room to sharpen your skills. On a trek, stick to map and compass, at least at first, so your skills get good enough. If you lose your place on the map and there's no danger, try finding yourself again without the GPS. That's exactly when you learn the most. A paper map also gives you a better overview, as you can see the whole area on a large sheet rather than a small phone or GPS screen. That makes route planning easier.