How to wax your skis — Waxing alpine and cross-country skis
Waxing your skis makes them perform better. You get better glide, and the wax also protects the base from dirt and wear. Fluoro waxes have now been phased out, and skis are mainly waxed with non-toxic alternatives. Some wax always ends up on the trails and in nature when you ski, and we don't want to leave anything harmful behind.
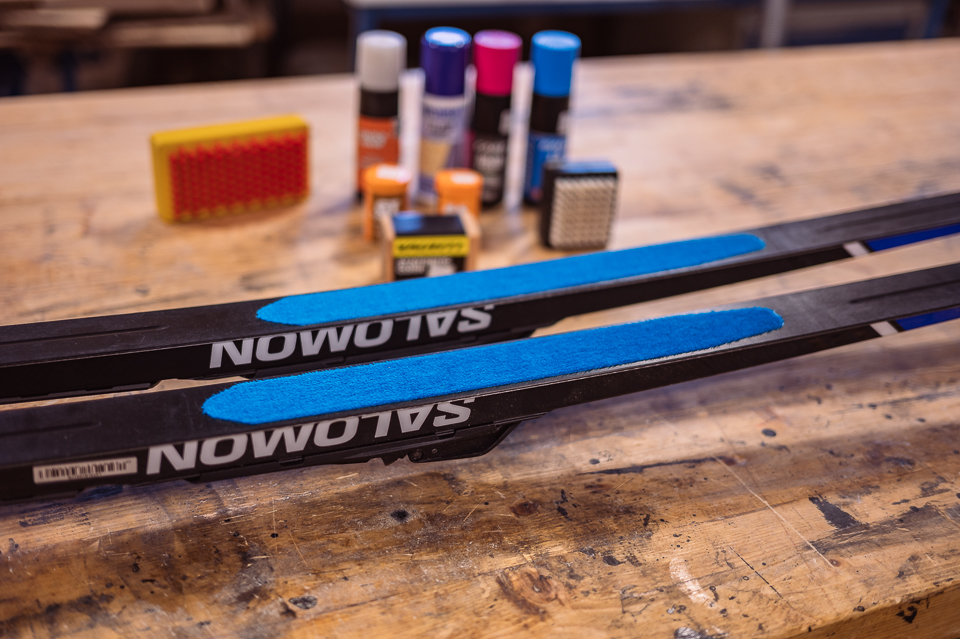
Today's fluoro-free waxes are affordable and hold up well. When you wax older skis, make sure there's no fluoro wax left on the base. If there is, the new fluoro-free wax may not bond properly.
There are many ways to wax skis and many types of wax to choose from. For glide waxing, the most common approach is to apply a base prep wax, which lasts quite a long time, and then add a condition-specific glide wax on top. In this post, we share tips for beginners and recreational skiers who value simplicity.
Glide waxing new skis
When you buy new skis from us, whether alpine or cross-country, we recommend having them waxed by us too. A base prep hot-waxed into new skis by a professional lasts 200-300 km, depending on how abrasive the snow is.
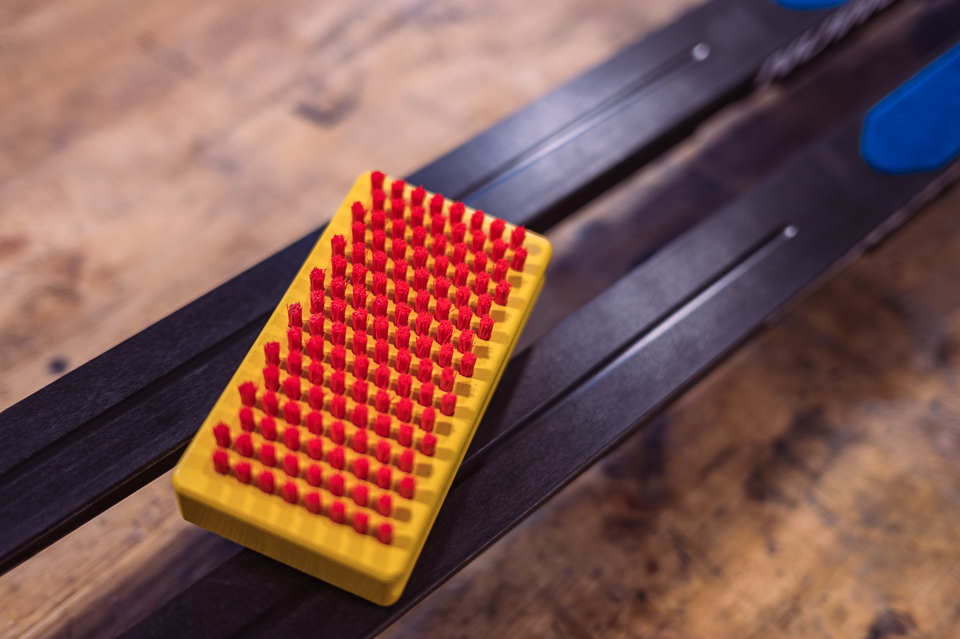
After that, the easiest option is a liquid glide wax for the day's conditions. They're about as simple as waxing gets. You can use a quick wax with a built-in applicator sponge (e.g. Vauhti 360 All Temp Liquid Orange) or a spray-on glide wax.
Apply quick wax straight onto the ski with the sponge, or spray the spray wax onto a fleece/felt brush and wipe it onto the base. This saves wax, because spraying directly means some of it misses the ski.
Applying liquid glide wax only takes a moment. Then let the skis dry for about 15 minutes. Next, brush the base with a soft nylon brush designed for that wax. This opens up the base structure and reduces friction between ski and snow.
For applying and brushing, try this handy brush and felt combo: Swix Combi Brush. If you just need a brush, the Swix Brush Rectangular Fine Red Nylon does the job.
You'll find all our glide waxes here.
Your skis are now ready to go. Depending on conditions, liquid wax lasts 20-50 km. Quick and easy. A handy starter kit for new ski owners is the Swix P15N or Vauhti Skin Kit Universal Minus. Each kit includes a cleaner and impregnating agent for the skins, glide wax with an applicator sponge and service cloths.
It's especially important never to apply glide or grip wax to the skins on skin skis!
Waxing new skis in brief:
- Base prep (hot-waxed): gives you a durable foundation (~200–300 km) before you add condition-specific waxes.
- Liquid condition waxes (e.g. quick wax or spray wax):
- Easy to apply with the sponge or via a brush. Let dry for ~15 min.
- Then brush with a soft nylon brush to open up the base structure and reduce friction.
- Liquid wax usually lasts 20–50 km of skiing, depending on conditions.
Glide waxing used skis
If your skis have been waxed as described above, the base prep will last a good while longer and you only need to top up the condition wax. Clean the skis and remove the old condition wax with a suitable cleaner. Don't use base cleaner, though, as it strips the base prep too. Then apply a fresh liquid condition wax, for example, just as you would on new skis.
Remove old glide wax with a cleaner such as Swix Glide Wax Cleaner 150ml. Vauhti also makes a glide zone cleaner with added wax. Vauhti Clean & Glide 200ml leaves a dirt-repellent, fast-gliding surface as it cleans.
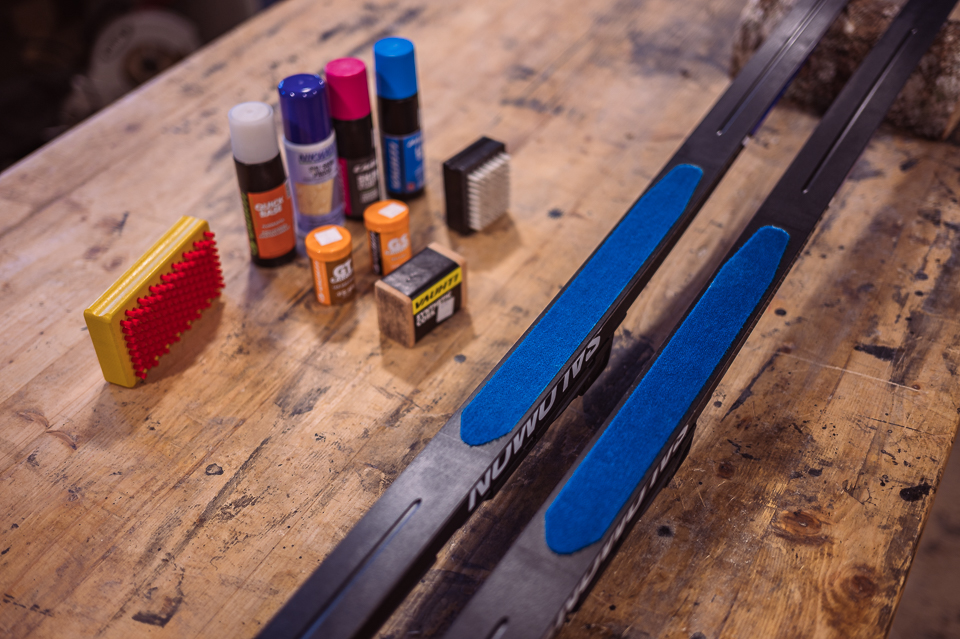
If the base already looks grey and you suspect the base prep has done its 200-300 km, strip all the wax from the base. Then either bring the skis to us for a new base prep or do it yourself.
Waxing used skis in brief
- Clean the glide zone before applying new condition wax.
- Avoid strong cleaners that also strip the base prep.
- Apply new liquid condition wax to a clean base.
Base prep wax
When the base starts to turn grey and brushing with a nylon brush doesn't bring the colour back, it's usually time for a new base prep. First clean off any dirt, then strip all the wax from the base with base cleaner.
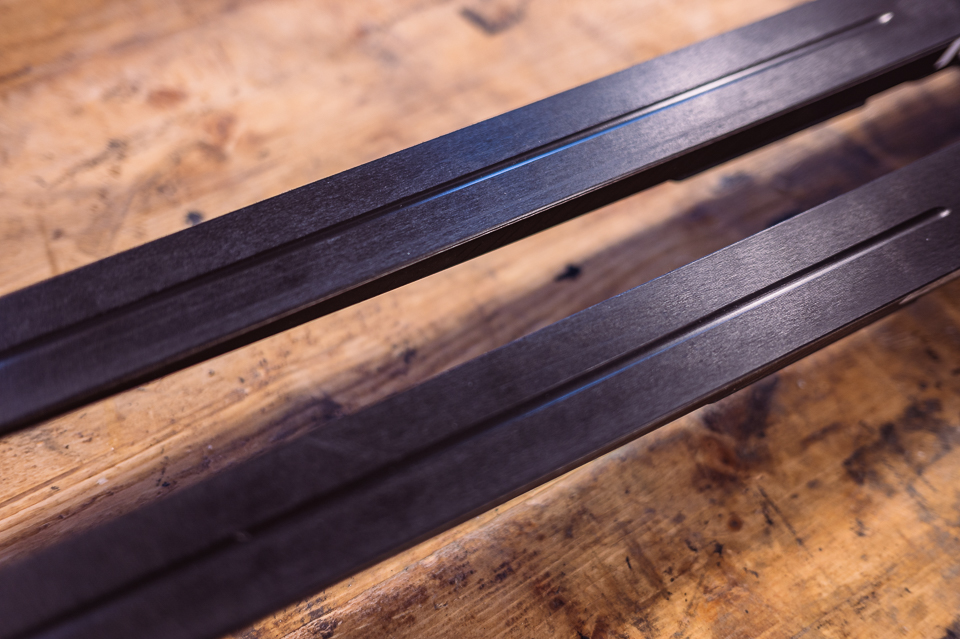
A liquid base prep is the easiest option. Try Vauhti Pure One Base Liquid Glide, for example. Apply it to the base and let it dry for the time given in the instructions. Scrape lightly with a plastic scraper and brush with a nylon brush. Your base is now ready for condition wax.
For a scraper, try the Vauhti Acryl Scraper 3mm.
For a more durable result, use a waxing iron and hot-wax the base prep in. Base wax that's been melted and absorbed with an iron is more wear-resistant, though it takes a bit more work. We recommend a waxing profile or stand that holds the ski horizontally. Melt the wax by holding the block against the hot iron and let it drip onto the base. Then use the hot iron to spread the melted wax evenly over the glide zone. Finish by scraping and brushing.
Base prep and hot waxing in brief
- If the base looks grey and brushing doesn't restore the colour, a new base prep may be needed.
- You can apply base prep with a liquid product or hot-wax it with an iron, which drives the wax deep into the base.
Ski care and cleaning
It's worth cleaning your skis after skiing. Snow leaves a lot of dirt on the base, and that slows your glide. A quick wipe of the base with a cloth after each session goes a long way.
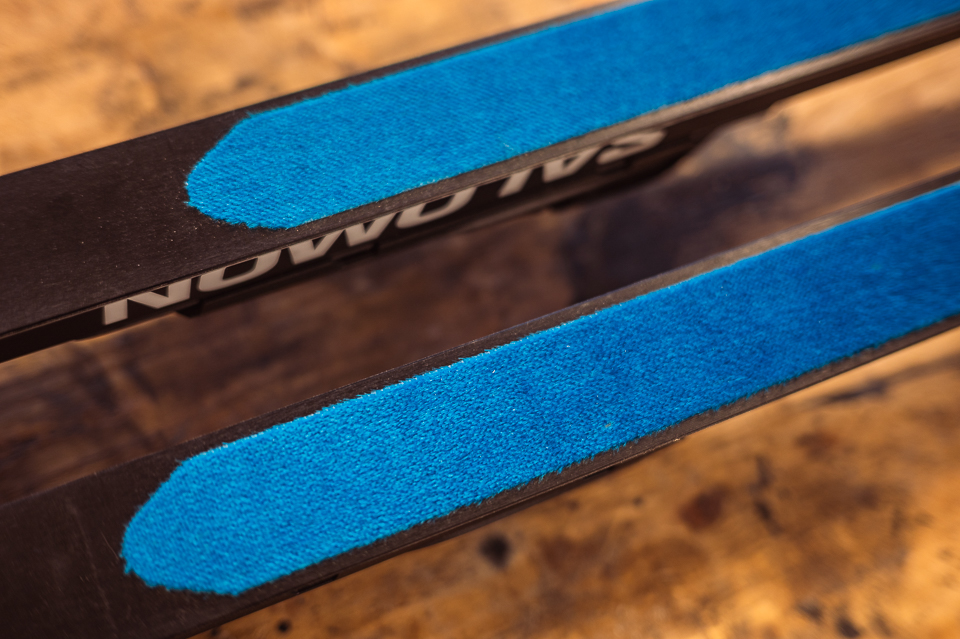
Clean the grip skins on your classic skis when they look dirty or have lost their “furry” look. There's a dedicated skin cleaner that you spray onto the skins and wipe off with a service cloth. It's also worth treating the skins with an anti-icing product. It keeps them cleaner and stops them icing up when they're wet and the temperature drops below freezing.
Ski servicing
Our legendary Scandinavian Outdoor ski service is available at our Kuninkoja and Pirkkala stores. We service cross-country and alpine skis, as well as Nordic touring skates. You'll find prices and more information via the links.
You'll find all our waxes and waxing accessories here.