A guide to getting started with packrafting
Packrafting is a fairly young sport. It began in 2000, when Alpacka Raft built the first packraft in the United States, and the sport as a whole grew up around it. Packrafting reached Finland about ten years later, but it's only in recent years that it has caught on more widely.
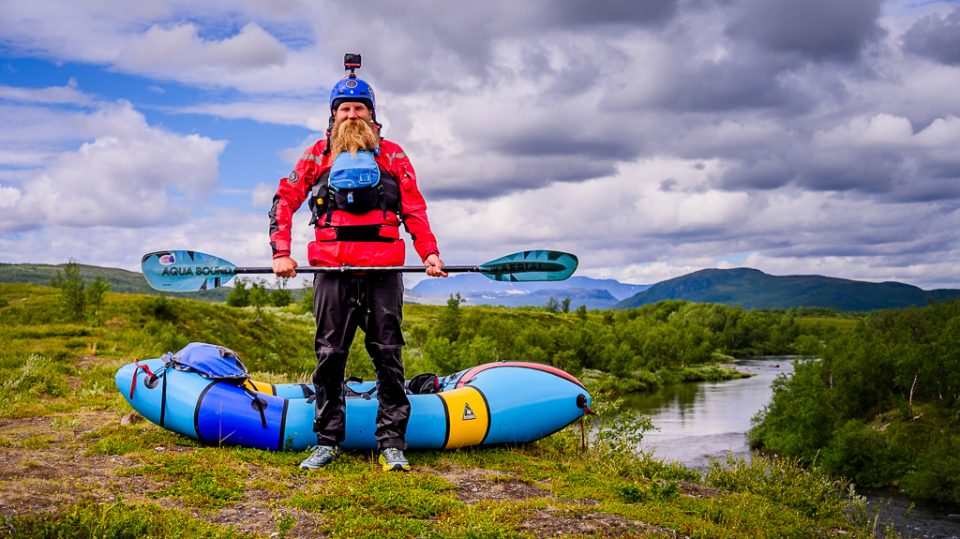
The sport has developed a lot since then and is still evolving. Most of that progress is in the rafts themselves, with designs and features constantly being refined. The core idea hasn't changed: a lightweight paddle raft that you carry in your backpack, so you can combine hiking and paddling on the same trip.
For packrafting, you'll need:
- a packraft
- a paddle
- a buoyancy aid
- a helmet (if you paddle whitewater)
- a drysuit (not always essential, but recommended)
- hiking and camping gear
- whitewater safety gear (if you paddle whitewater)
Depending on the type of trip, you may need a few other things too. More on the gear below.
Packrafts have come a long way in recent years
When you're choosing your first packraft, you should ideally know what you'll be using it for. That's easier said than done, because many paddlers find their plans change quickly once they gain experience and try out different conditions.
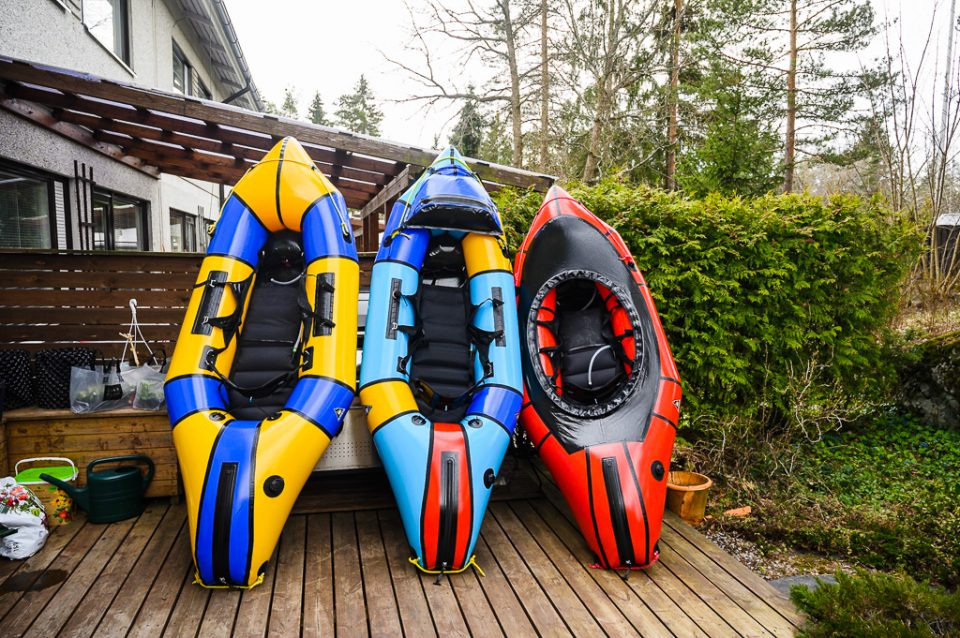
Whitewater packrafts drying outside: two self-bailers and one with a whitewater spray deck.
Packrafts generally fall into three categories: budget entry-level rafts, all-round rafts and whitewater rafts. The cheapest packrafts often break easily and aren't a very responsible choice. An all-round packraft is the more affordable way to get properly into the sport. Whitewater packrafts are among the best rafts available, and as well as handling rapids, they also work very well on lakes and flat water.
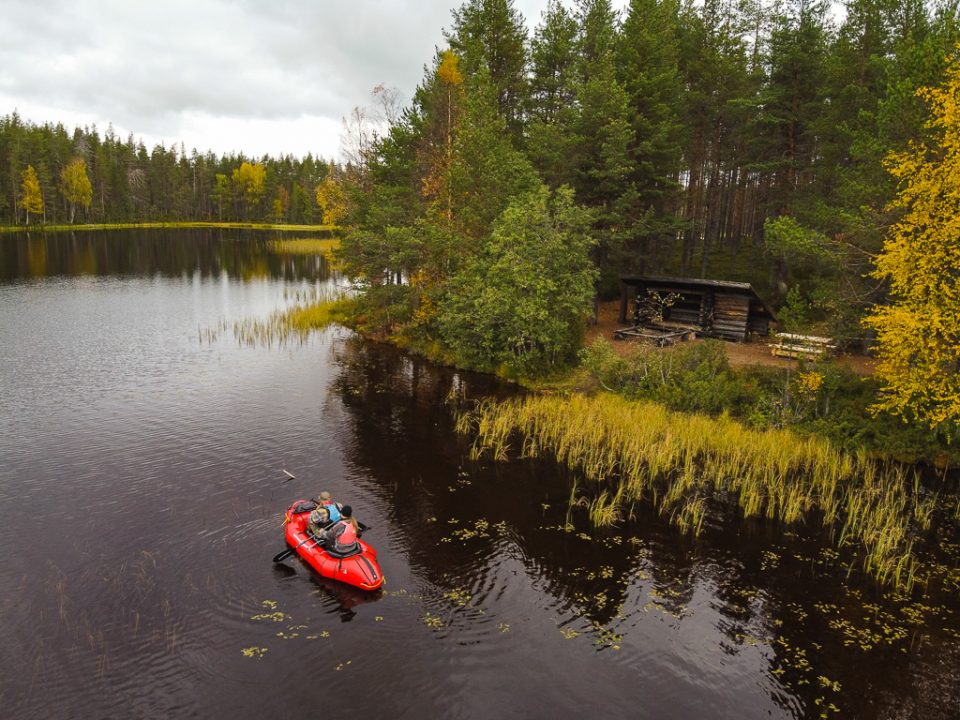
A two-person packraft canoe on a longer trip in Hossa National Park.
Packrafts come in a range of configurations. Most people buy a solo model, but there are plenty of two-person models too. A packraft can be open, or it can have a spray deck. A spray deck closes off the cockpit so water can't get in, as it otherwise would in rain or choppy water. There are spray decks for flat water and for whitewater. Some spray decks can be dangerous, so test how easily yours releases in a capsize somewhere safe, with a competent friend keeping watch.
Packrafts also come in self-bailer versions, which are especially popular with whitewater paddlers. These rafts drain themselves: holes in the floor let any water that comes in flow straight back out. That means you can paddle without a spray deck, which saves a lot of hassle – no constantly ripping the deck off and fastening it back on.
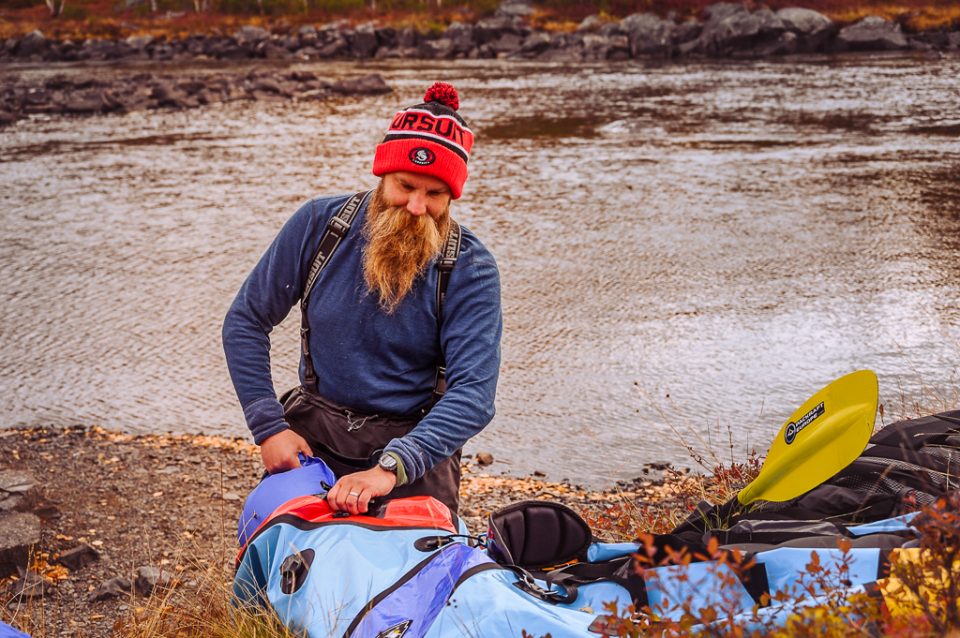
Many packraft models let you store gear inside the tubes. A waterproof zip gives you access to the inside of the tube, and you can usually use the whole internal space of the raft. Pack your gear in dry bags and secure them to the raft. Dry bags designed by the raft manufacturer for this purpose work best, but some people use ordinary dry bags.
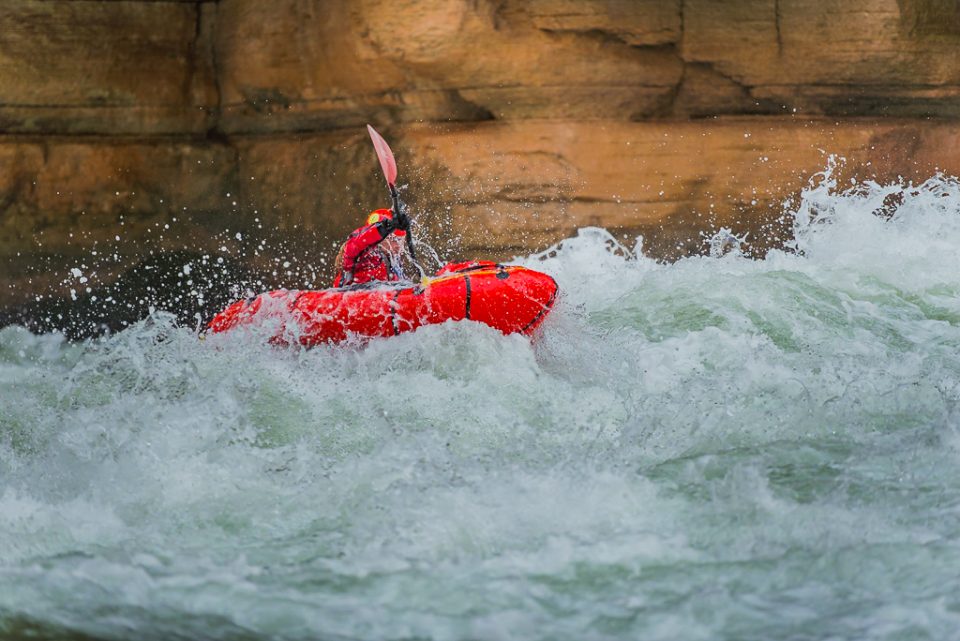
A packraft is easy to take abroad, too – here paddling the Colorado River through the Grand Canyon.
Many packrafts look much the same, but the differences can be significant, especially in whitewater. There, the shape of the raft and small design details make a big difference. On flat water, the main difference is hull speed. As a rule of thumb, the longer the raft, the faster it is.
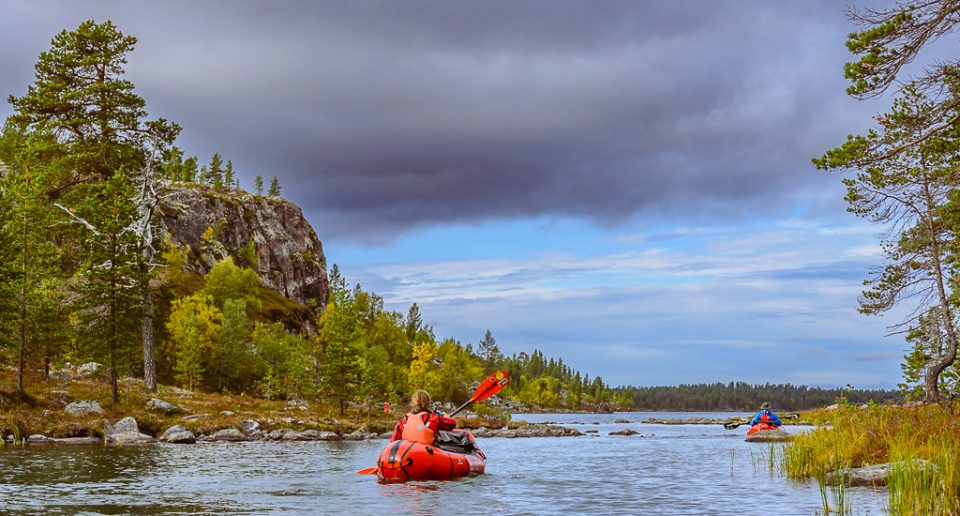
Vätsäri is one of the most popular lake destinations for packrafting.
Packrafts are a little slower than a long touring kayak or canoe, but the best models are still enjoyable to paddle on lakes. A packraft doesn't track particularly well and yaws slightly with each stroke, but that doesn't spoil the fun. You get used to it quickly and usually won't need a keel or skeg. On technical water, such as a river where you have to weave between rocks, a skeg is only a hindrance, because it makes turning harder.
Your paddle is your engine
When you're buying your first packraft, remember to leave some budget for decent gear. A cheap paddle breaks easily and isn't much fun to use. With a better paddle, paddling is more comfortable and you don't have to worry so much about it breaking.
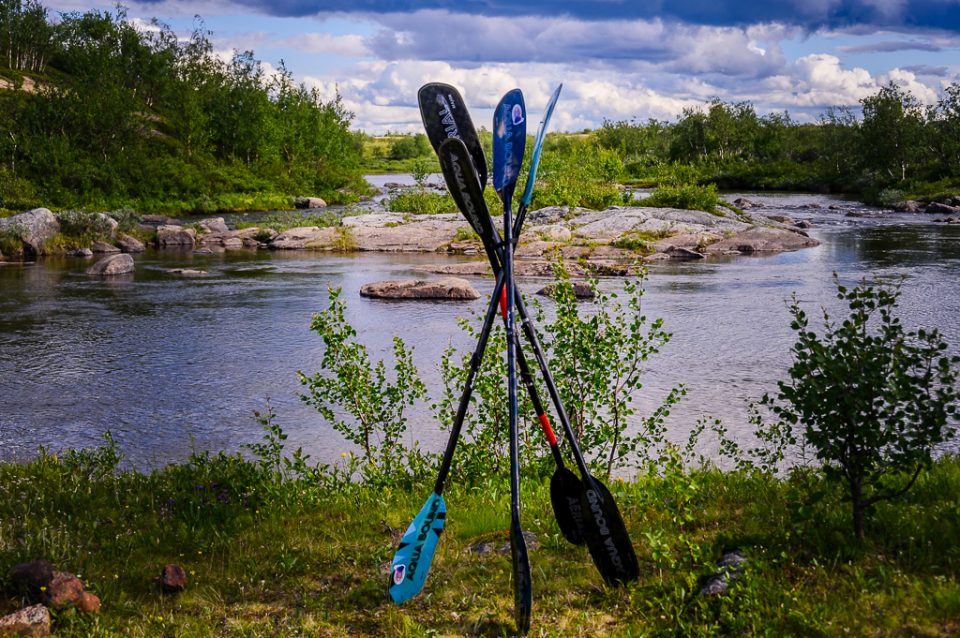
The most common mistake is buying a paddle that's too long. If you're not sure about length, an adjustable paddle is the safer buy. In practice, any packraft is best paddled with a 197–210 cm paddle, and most people use one between 197 and 205 cm. Paddles also have a feather angle, set for either right- or left-handed paddlers. On many adjustable paddles you can change this too, so they work for either hand. The most common feather angle is around 30 degrees, and many paddles let you set it to whatever angle you prefer.
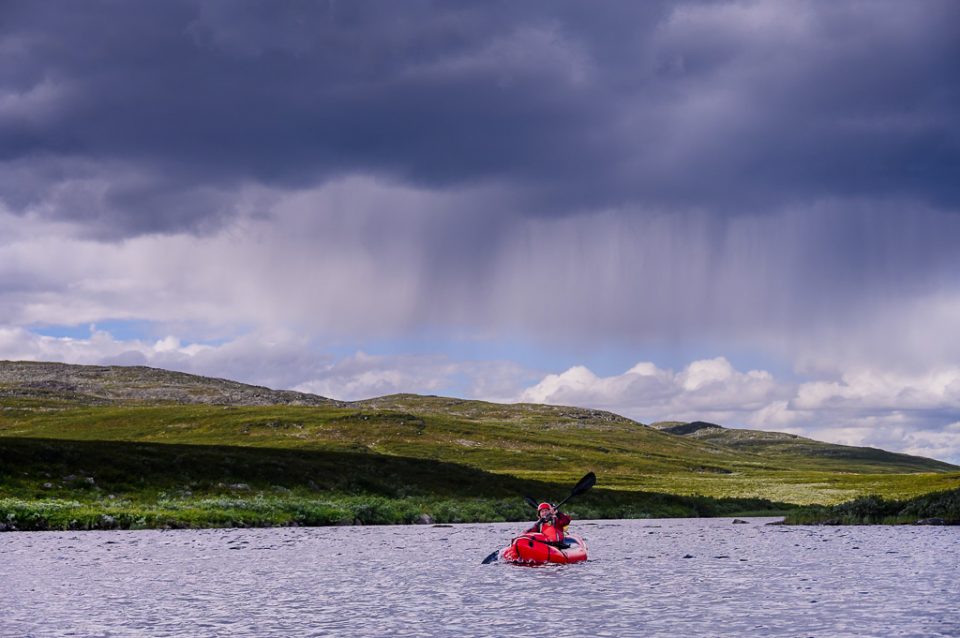
Generally you want your paddle to be as light as possible so paddling is less tiring. That matters most on long lake trips. In whitewater and on wilderness trips, durability is the bigger concern. The lightest paddles are usually carbon fibre, with fibreglass ones a little heavier. The cheapest paddles are plastic, though plastics vary too.
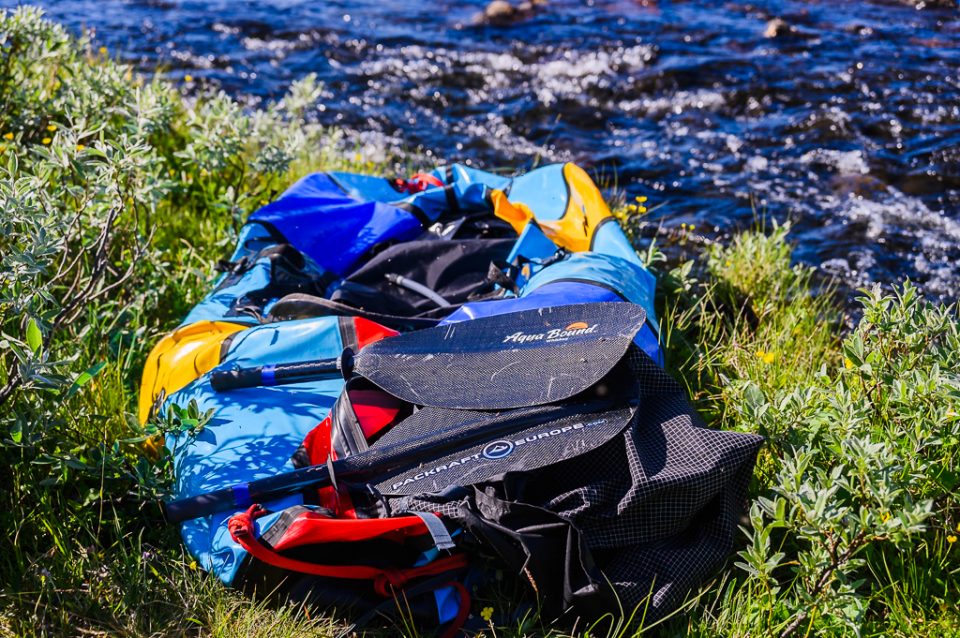
A lightweight four-piece paddle also works well as a spare.
If you plan to carry your packraft in a daypack or backpack, go for a four-piece paddle. It breaks down into shorter sections and packs away more neatly. A two-piece paddle on your pack catches on every branch as you walk and is a bit awkward, but on the other hand it has fewer parts that can break.
On wilderness trips, the group should always carry at least one spare paddle, and be ready to make a replacement if one breaks or gets lost.
Always wear a buoyancy aid on the water
Unfortunately, you still see paddlers out without a buoyancy aid. Putting one on should be as automatic as wearing a seatbelt in the car. Modern buoyancy aids are genuinely comfortable, they don't chafe, and there's no reason to go without.
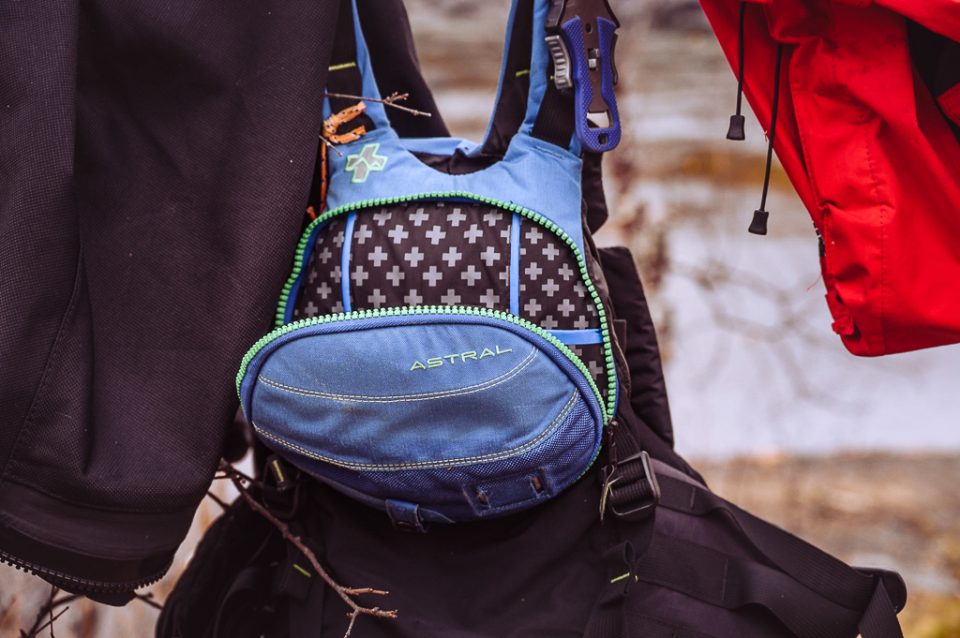
Roomy pockets on a buoyancy aid are handy.
You can find perfectly good buoyancy aids at a low price, though they may not last as long as better-made ones. What matters is getting one that fits you and has enough buoyancy. Buoyancy is given in newtons: 50N is enough for flat-water paddling. For small rapids or windy lakes, 60N is a good idea. More experienced whitewater paddlers use 70N buoyancy aids, which will see you through bigger rapids.
A standard buoyancy aid is fine for beginners, but more experienced paddlers use rescue vests, which have extra features. These aren't recommended for beginners, and you should get proper training before using one so you don't end up in trouble.
In whitewater, wear a helmet
Whenever you paddle rapids, wear a helmet. Whitewater paddlers are particular about gear and safety practices, because the sport can be life-threatening if you don't recognise the hazards. Using proper kit also earns you respect as a paddler – and stops you looking like a complete beginner.
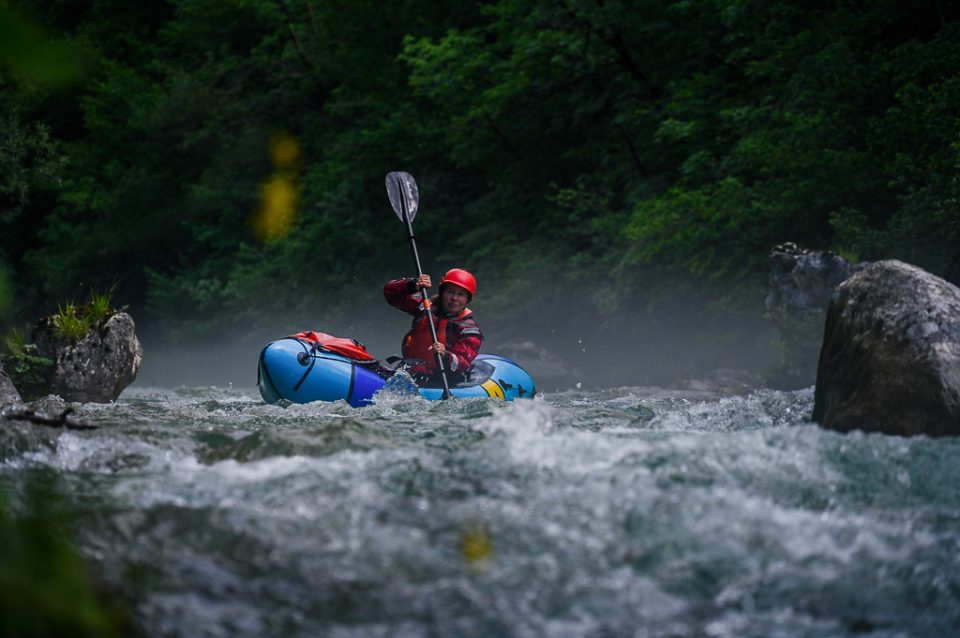
The rocks are just as hard whatever the grade of the rapid.
Helmets vary a lot, because heads come in different sizes and shapes. Always try a helmet on before you buy. An uncomfortable helmet is miserable to wear, while a comfortable one is something you won't want to take off even on the bank.
A drysuit is weatherproof paddling wear
A drysuit is a sound investment if you paddle in the Nordics. It extends your paddling season, keeps you protected from wind and rain, and it's one of your most important pieces of safety gear.
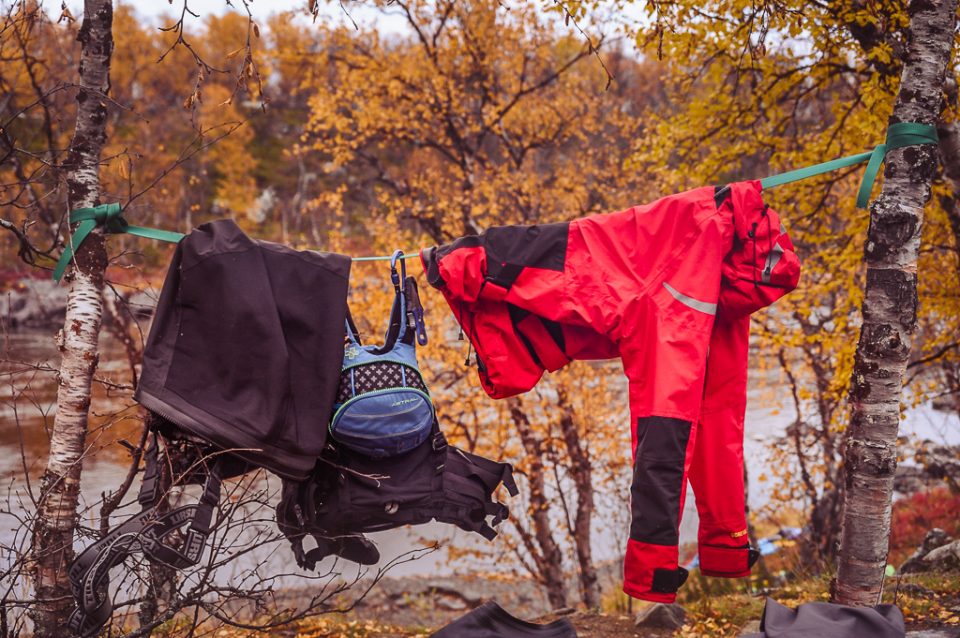
Drysuits come in one-piece and two-piece versions. One-piece suits are more common.
In northern waters, the most common cause of death is hypothermia. In cold water, a drysuit buys you a lot of extra time to get yourself to safety – without one, you can't function for more than a few minutes.
A drysuit is a waterproof suit that keeps you dry even when you're swimming. Modern suits have integrated socks, so your feet stay dry too. You can choose neoprene or latex for the wrist and neck “seals”. Neoprene is fine for lake paddling and a little more comfortable, but for whitewater, go for latex. Neoprene seals will start letting water in sooner or later.
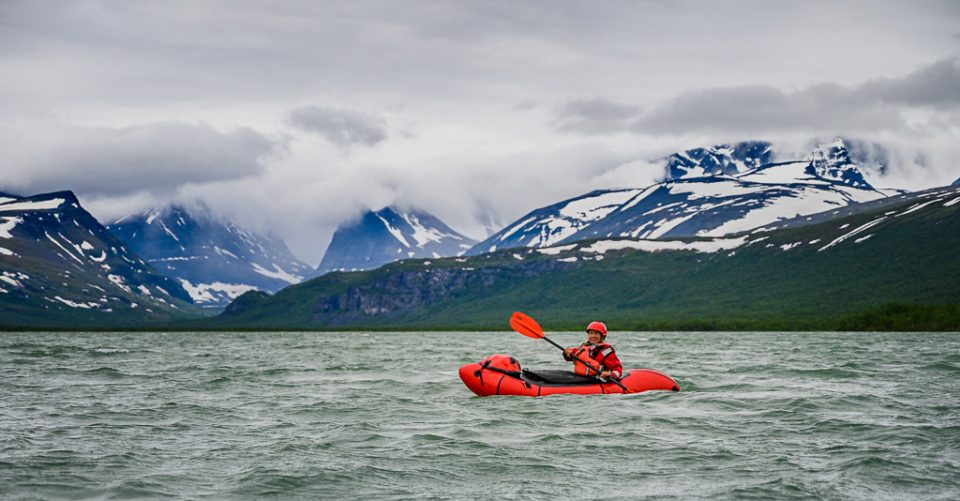
Some Nordic paddling destinations are in the Arctic, where the water is always cold.
To make toilet stops easier, suits are available with relief zips for both men and women. This is a big advantage, especially in the rain – otherwise you have to open the whole suit and end up wet inside.
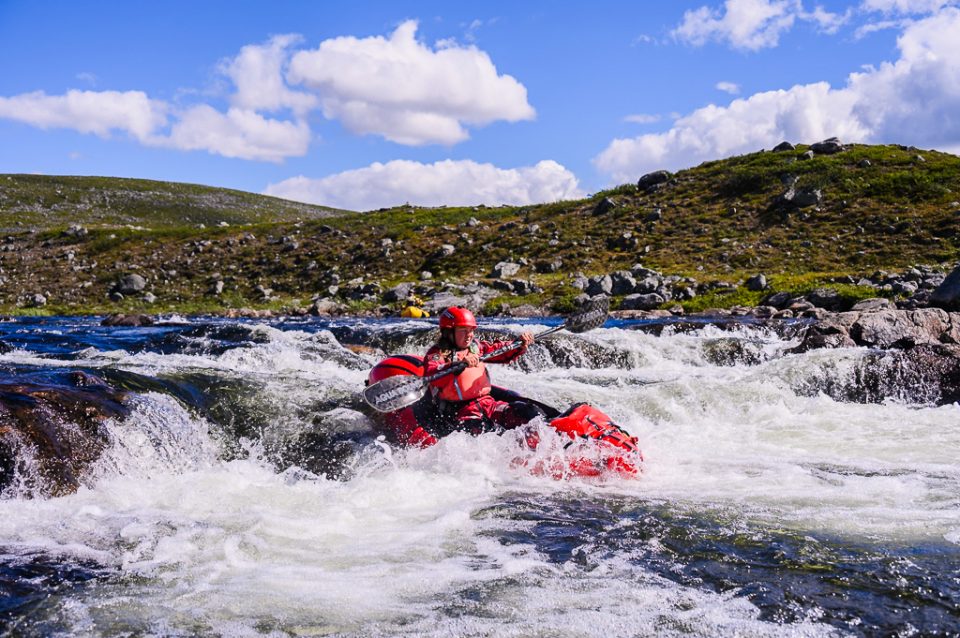
In whitewater especially, you'll get plenty of spray. A drysuit adds a lot of protection and safety in the rapids.
Wear a merino wool base layer under the suit. The drysuit keeps you dry, and you choose how much insulation to wear underneath according to the weather. Factor in the water temperature too: if you capsize, you'll be swimming, so always dress for immersion.
Drysuits wear out and need maintenance. Socks get punctured and seals need replacing. When you buy a suit, check how the manufacturer's repair service works. The Nordic brand Ursuit, for example, has a service point in Turku.
Hiking gear for packrafting
Packrafting lends itself well to overnight trips and long expeditions, which means you'll need all your camping and hiking gear with you. Even if the raft itself weighs just 3 kg, you'll also be carrying a paddle and buoyancy aid, and often a drysuit, helmet and other paddling kit. So think carefully about the weight of your gear, and how small it packs down.

A wilderness trek that includes whitewater means carrying a lot of gear.
If you already have hiking experience and own all the kit, you may still need to upgrade some of it. If you're an ultralight hiker, you'll have it easier. The first challenge is often the backpack. Ideally, everything fits inside, but in practice that means a very large capacity – or you'll simply have to strap some gear to the outside. A frameless pack is easier to stow inside the packraft.
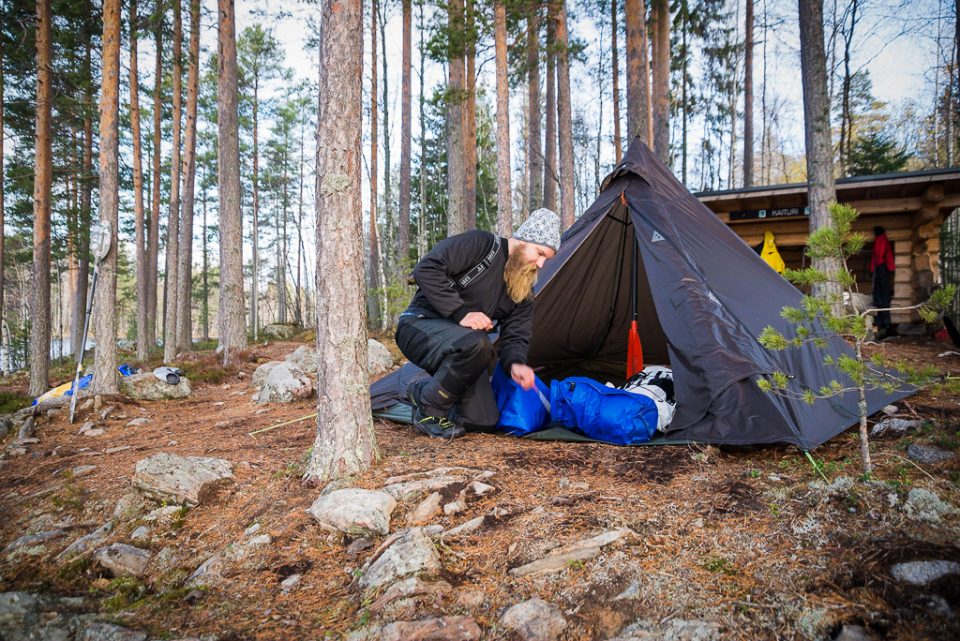
With some tents you can use your paddle as the centre pole, which saves weight.
Your tent is often one of the heaviest and bulkiest items you carry. We recommend a lightweight tent, ideally one without poles. A pyramid tent is a common choice among packrafters. It needs a centre pole, which can be your trekking poles or your paddle.
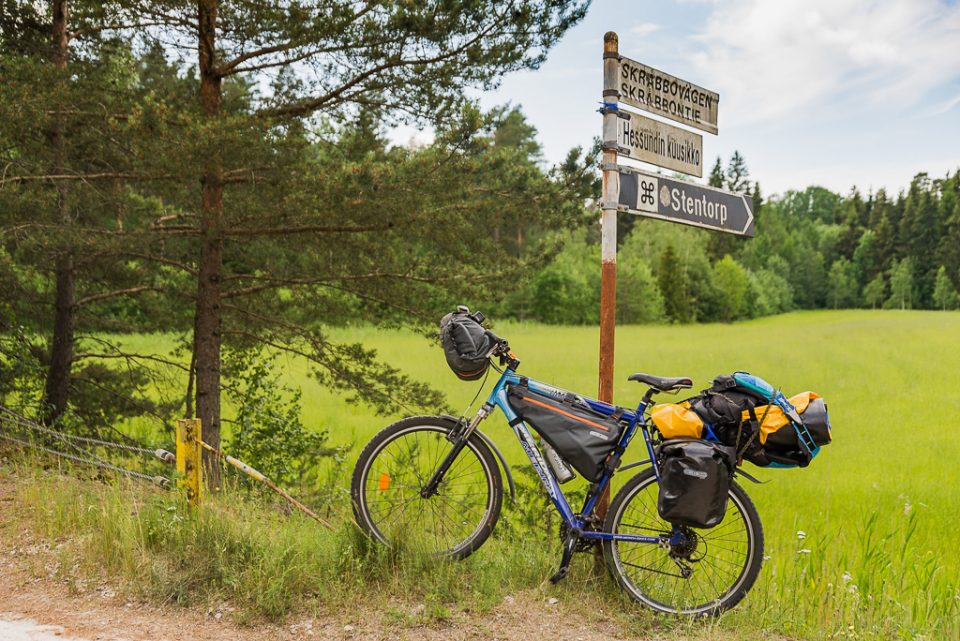
You can combine paddling and cycling too. Here we're heading out to an island for a Midsummer overnighter.
Think carefully about what you actually need and which choices will save you weight and pack space. But always bring a first aid kit, paddling safety gear and a repair kit for your packraft.
Wilderness adventures and whitewater packrafting
Always build up your paddling skills by practising somewhere safe. Once your paddling and wilderness skills are solid, you can start planning trips to more remote places. Start with easier weekend trips and work your way up gradually to more challenging destinations.
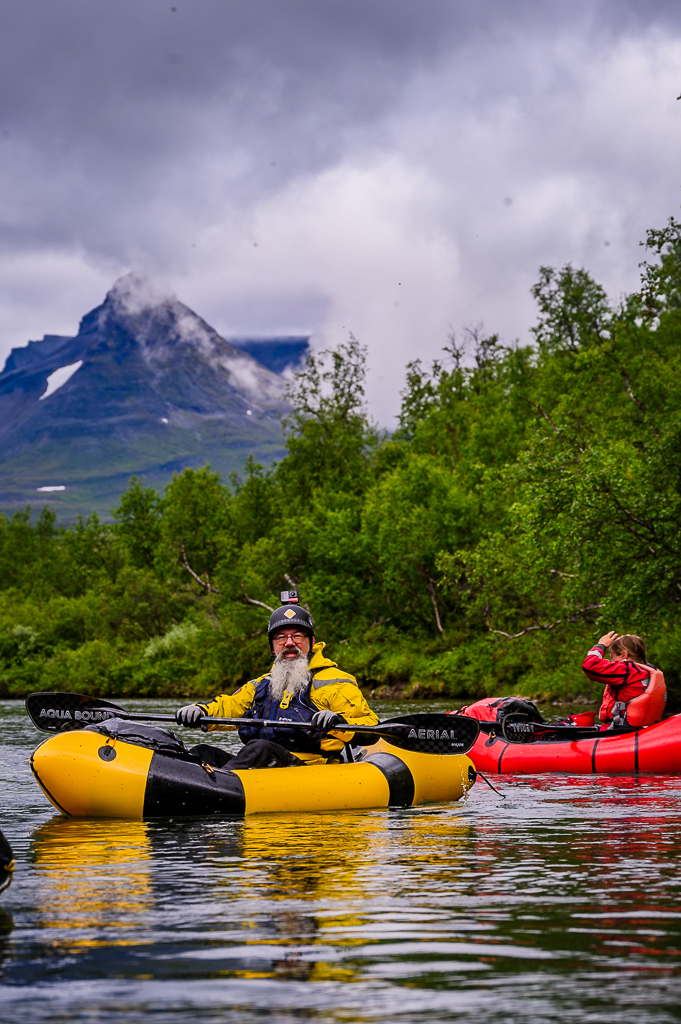
Northern Sweden has plenty of spectacular destinations for experienced paddlers.
Packrafting is a team sport, especially when whitewater is involved. You need the right group with you. In whitewater, capsizes are part of the game, and the group deals with them by carrying out rescues. Rescues need to be practised in advance and done quickly and efficiently. Whitewater courses are the best place to learn these skills.
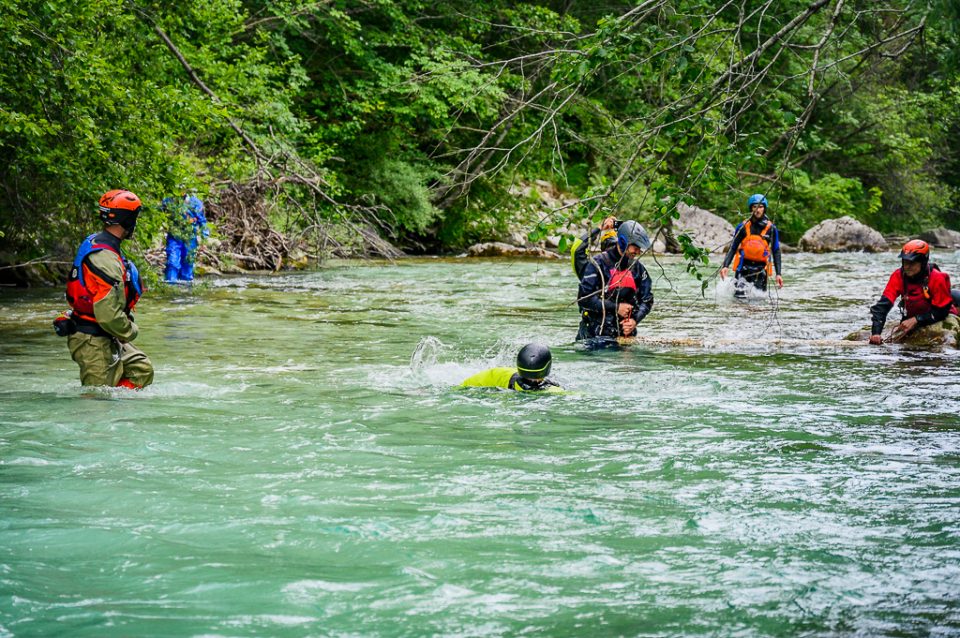
On a whitewater rescue course (WRT-PRO) in Slovenia.
The right gear is good, knowing how to use it is better, but experience matters most. You can't buy experience in a shop, and it's best gained in experienced company. Your group should always include at least one experienced member. Group size matters too: on a challenging route, 4–8 people is a good number. Fewer than four limits your rescue options, and with more than eight, communication gets too difficult and the group ends up spread out along the river.
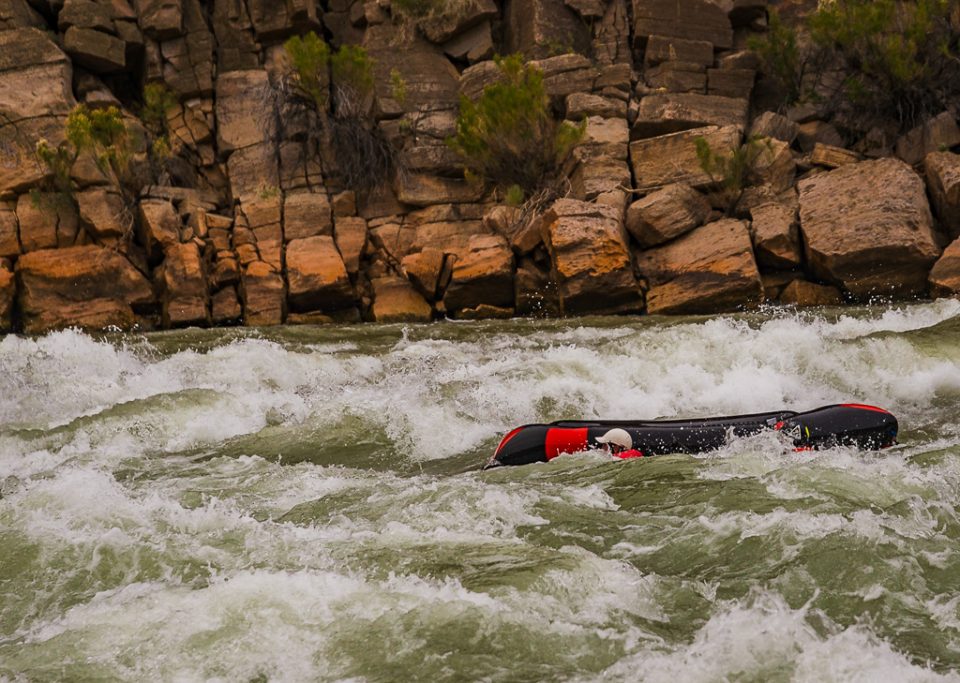
In whitewater, they say capsizing is part of the sport. With a packraft, so is swimming.
The most common mistake on whitewater trips is not practising with safety gear – or not carrying it at all. Safety gear always comes along; save weight elsewhere. Every paddler should carry a whistle, a throw bag, locking carabiners and a tow tether for towing a raft. You also need to carry this kit correctly. Your throw line must be the right type and packed in the right place. Carabiners must have a locking gate, and any “spare” ones go inside a pocket, not clipped to your buoyancy aid or packraft. The small accessory carabiners many people use to clip a map or water bottle to their packraft can be a serious entrapment hazard.
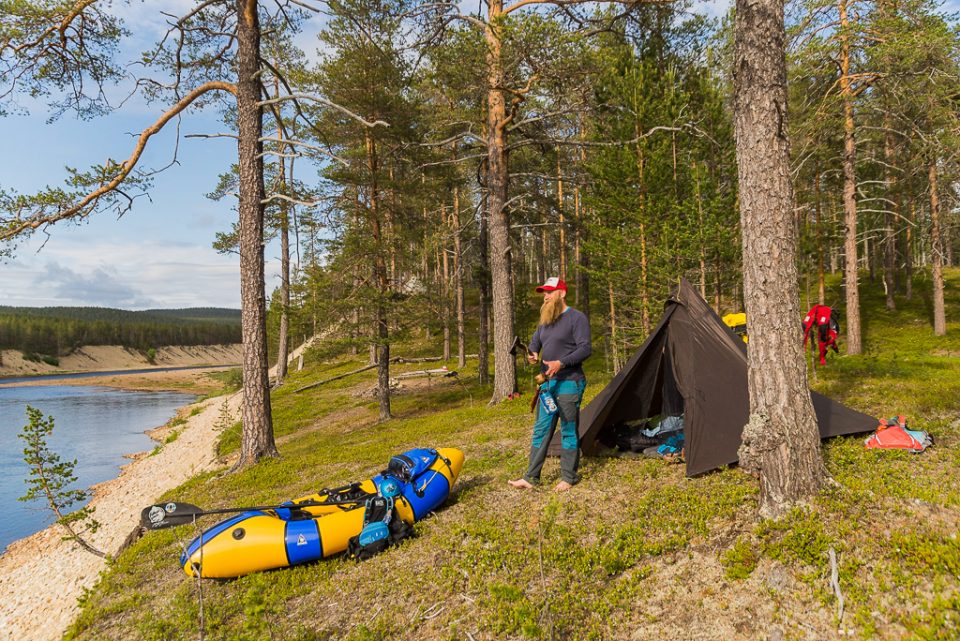
The Ivalojoki river is a superb route for a packrafting trek.
Most of Finland's wilderness destinations are fun river routes. You can also stick to lakes only, as is common in the Vätsäri wilderness area. Even on these trips, you always need to be prepared for a capsize. The biggest challenges are strong winds and big waves. Landing is another moment when it's easy to capsize and lose your raft. Always weigh up the risks and stay close to the shore where you can. Cold water and wide open stretches are always a dangerous combination.
A packraft is a versatile paddle craft
Packrafts are very beginner-friendly. Getting into paddling is easier in a packraft than in a canoe or kayak, because a packraft is very stable.
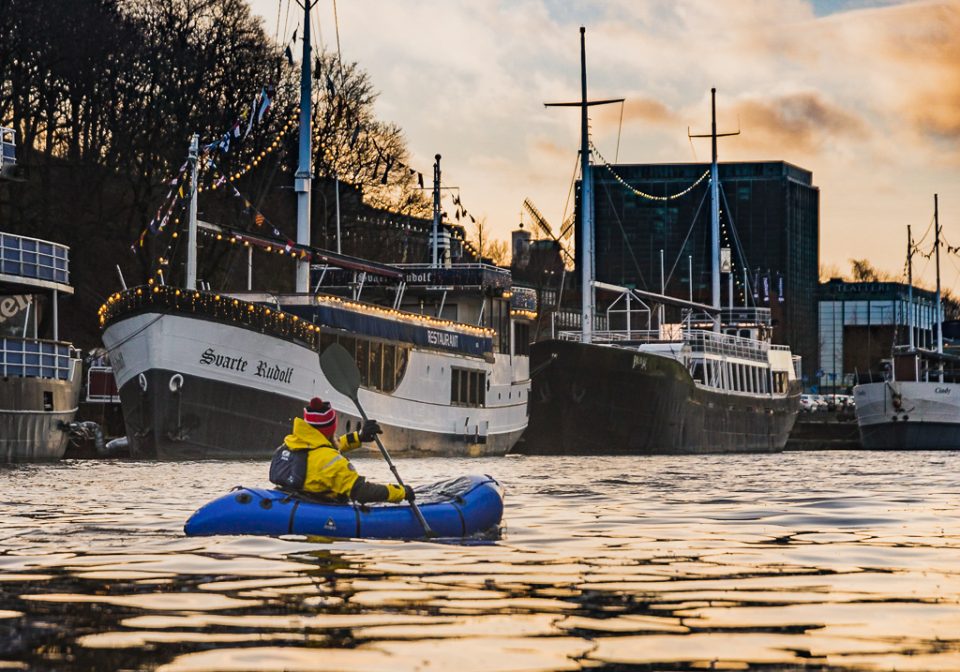
Packrafting on the Aura River in Turku in December.
The versatility comes from how easily you can head out for a day on lakes and rivers, whether they're out in nature or in the middle of town. You can throw a packraft in the car, or travel by bus or even by bike. There's very little standing between you and a trip, and it doesn't take up much storage space at home either.
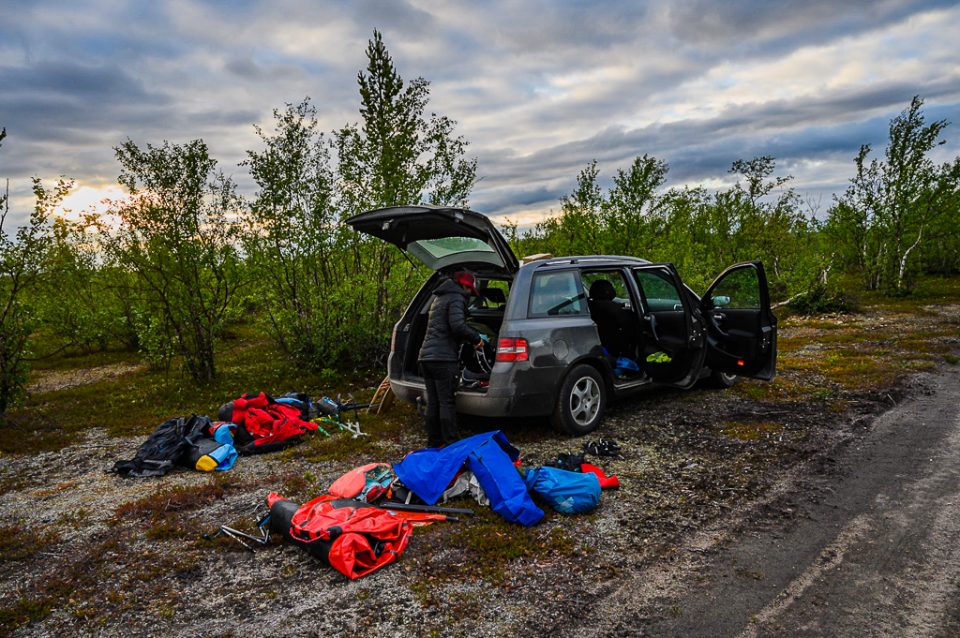
Packrafting gear fits easily in a car, just like your hiking kit.
Most packrafters in Finland are either hikers looking to expand their range, or anglers. Fishing from a packraft is easy and more comfortable than from a float tube, for example. With a packraft, you can fish well beyond the shoreline.
Enjoy your packrafting – and stay safe!
This article was written by Caj Koskinen – wilderness guide and packrafting instructor at Hutkai.